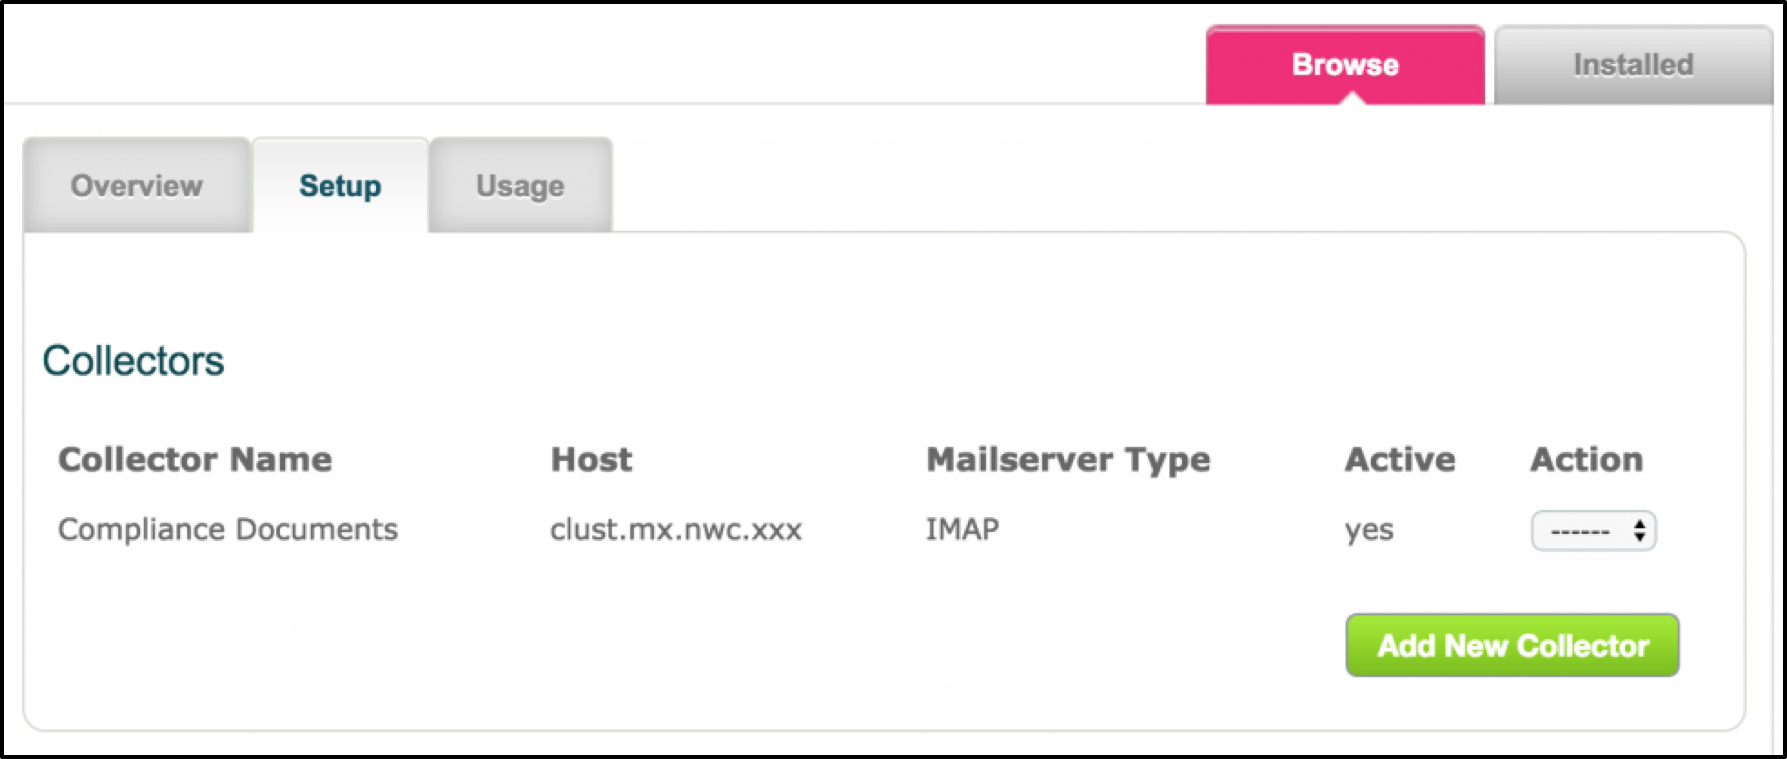
Having installed the Email Collection app in the Store go to the Setup tab and click Add New Connector to configure your collector.
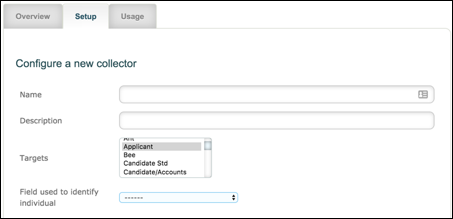
Name - Give the collector a name which will make it easily identifiable in the list.
Description - If required use the Description field to further define the use/purpose of the collector.
Targets – select the target group for which the collector will be used.
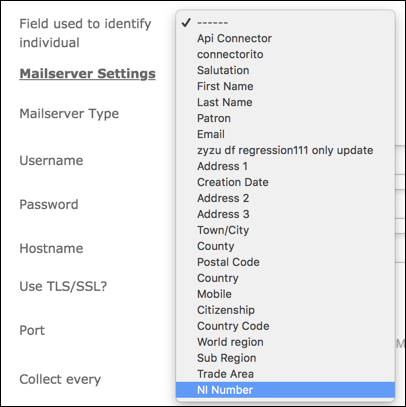
Field used to identify individual - All standard and custom fields for the chosen target group will be presented. Select the field which is to be used to identify the target so that the incoming email/attachments are added to the correct Unassigned documents list.
Please Note:
1. The following format must be used in the Subject of the email: Field Name="value"
Eg NI Number="WM554487C" or if you are using a merge field to enter the field value:
NI Number="<<target.field_ni_number>>"
Field Name is case sensitive so must match the target field name exactly as it appears in the Edit Target Types listing.
2. It is recommended that this field denotes uniqueness ie NI Number or Registration Number, etc. If the value in “Field used to identify individual” matches more than one target, the email/attachments will be added to the Unassigned tab of each of these target’s Documents Lists.
Mailserver Settings
These are determined by how your email service is setup. If you don’t know these details ask your IT department to provide them.
Mailserver Type is defaulted to IMAP
Hostname – enter the email server name
Username – enter the username of the email account. This is the inbox from which you want autologyx to collect mail
Password – enter the password for the inbox
Use TLS/SSL – check the box if your email account uses this security option
Port – enter the email port number
Collect every – select your required collection frequency. Choices are every 5 minutes, every 15 minutes or hourly
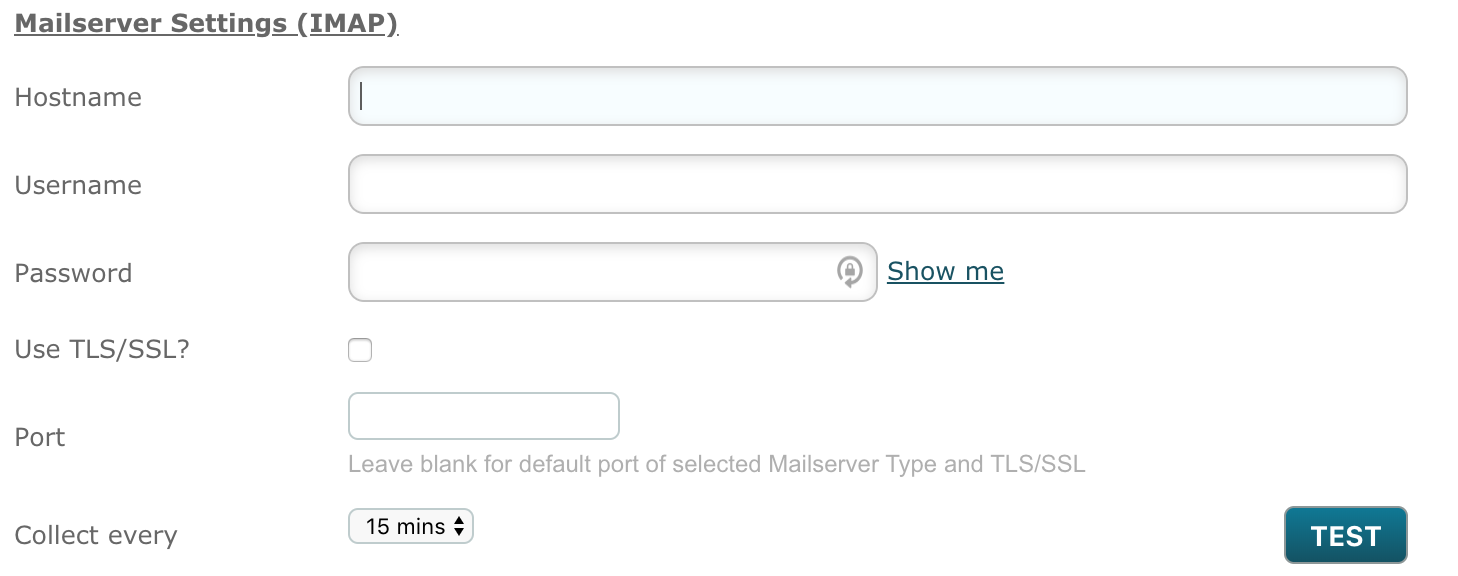
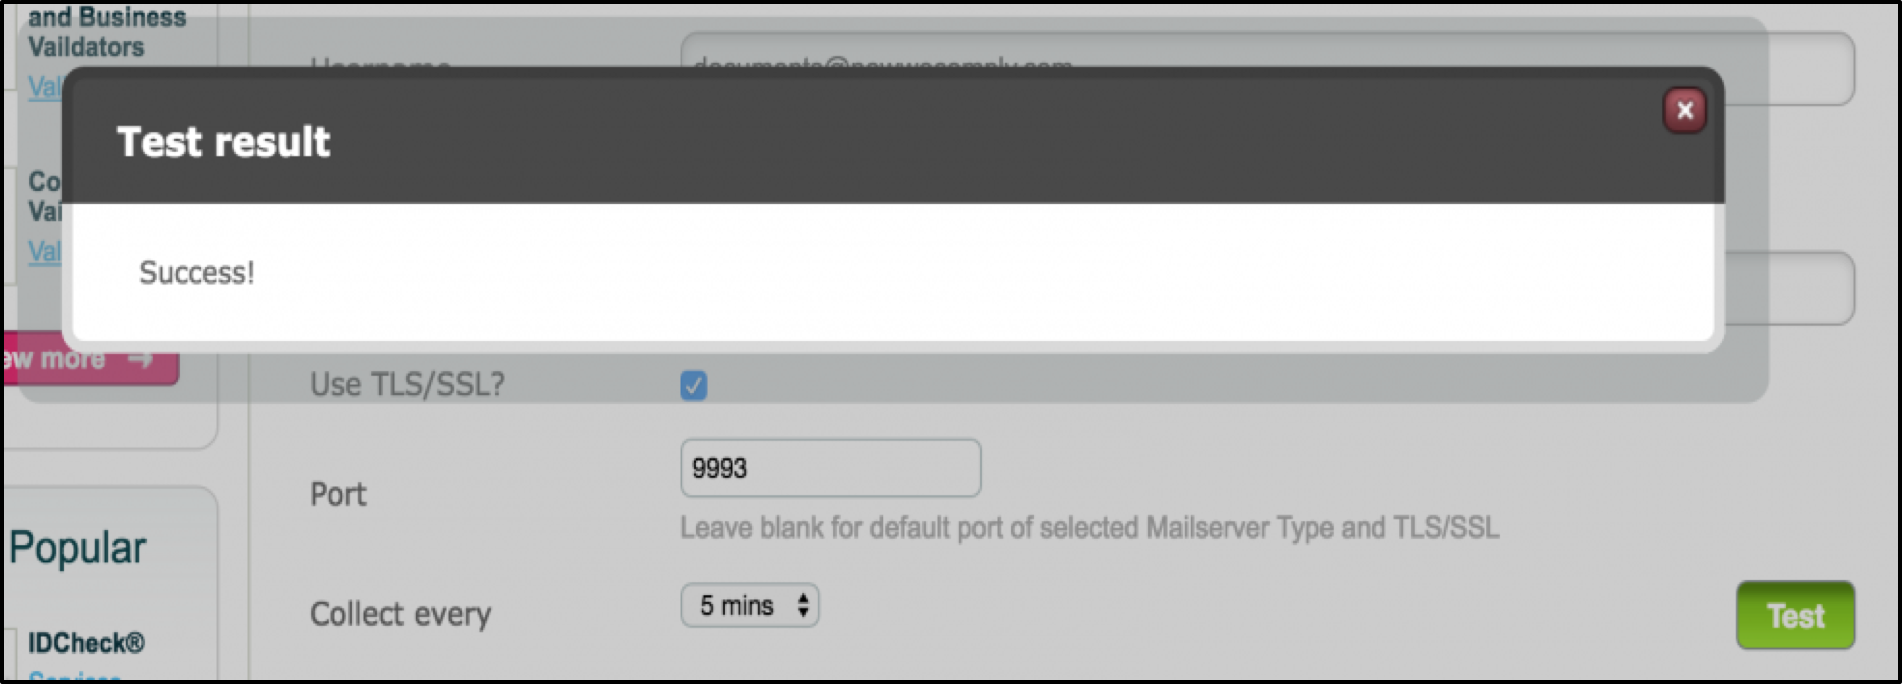
We have included a Test button. Click this when you have completed the Mailserver Settings. You will see a Test Result modal pop up, hopefully stating Success!
Split multipage PDF? - Tick the box if you require the pages to be added as separate items onto the Unassigned tab.
Forward to - enter an email address to which emails with valid attachments but which cannot be matched to a target are forwarded.
Notify User - Emails that have rejected attachments, will be forwarded to the email address provided to notify the User.
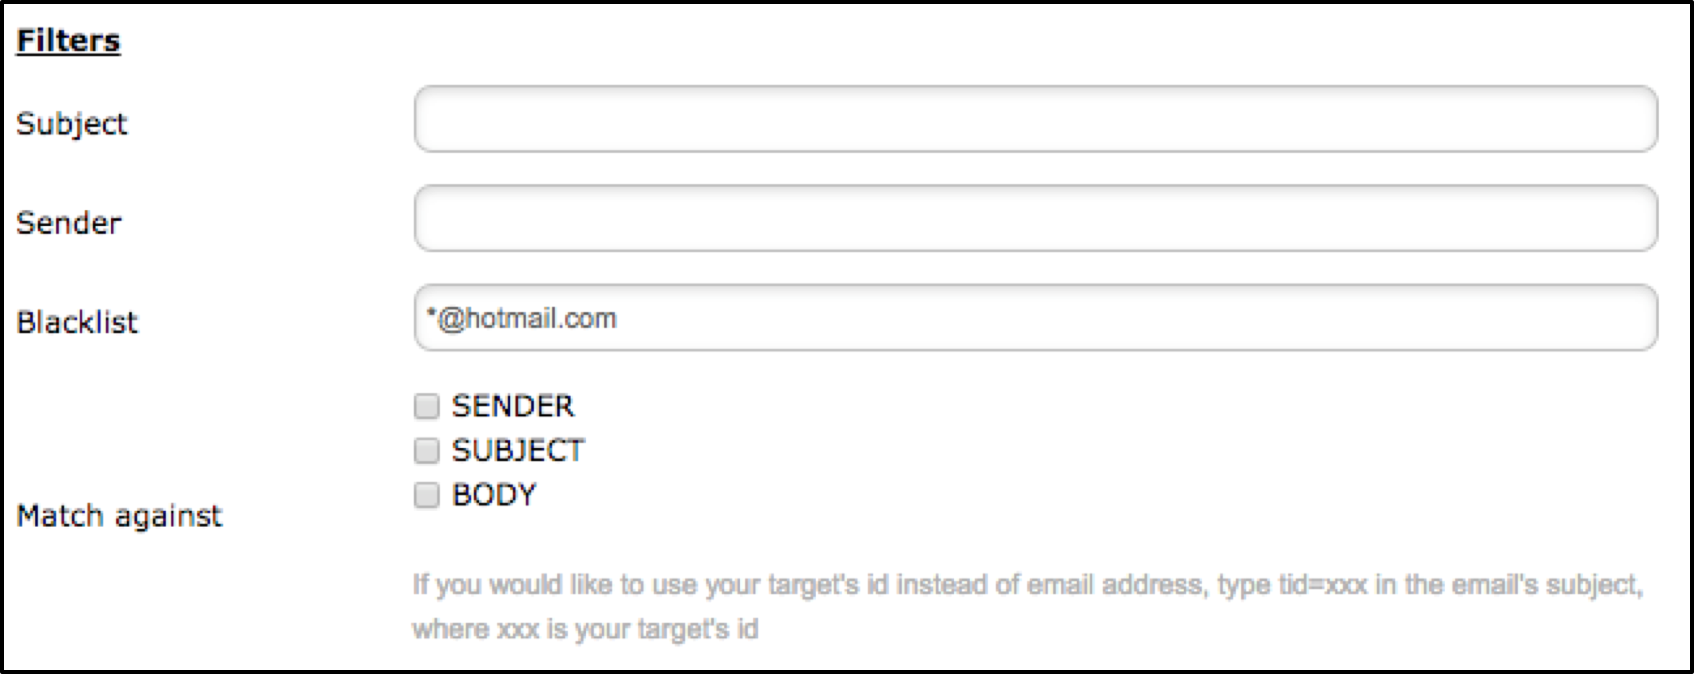
Filters
Subject and Sender – if required you can stipulate what email subjects and sender addresses will be picked up here.
Blacklist – enter any email addresses you wish to exclude.
Subject, Sender and Blacklist work with exact matches and wildcard e.g. *@hotmail.com for any mail from Hotmail addresses.
Match against - tick as required SENDER/ SUBJECT/ BODY - all 3 can be selected if appropriate. However, if you are not using an Email Address to identify the individual target you should not select Sender.
Options
Include Body – check this box to have the body of the email included.
Only with Attachments – check this box if you wish to pick up emails that have attachments only.
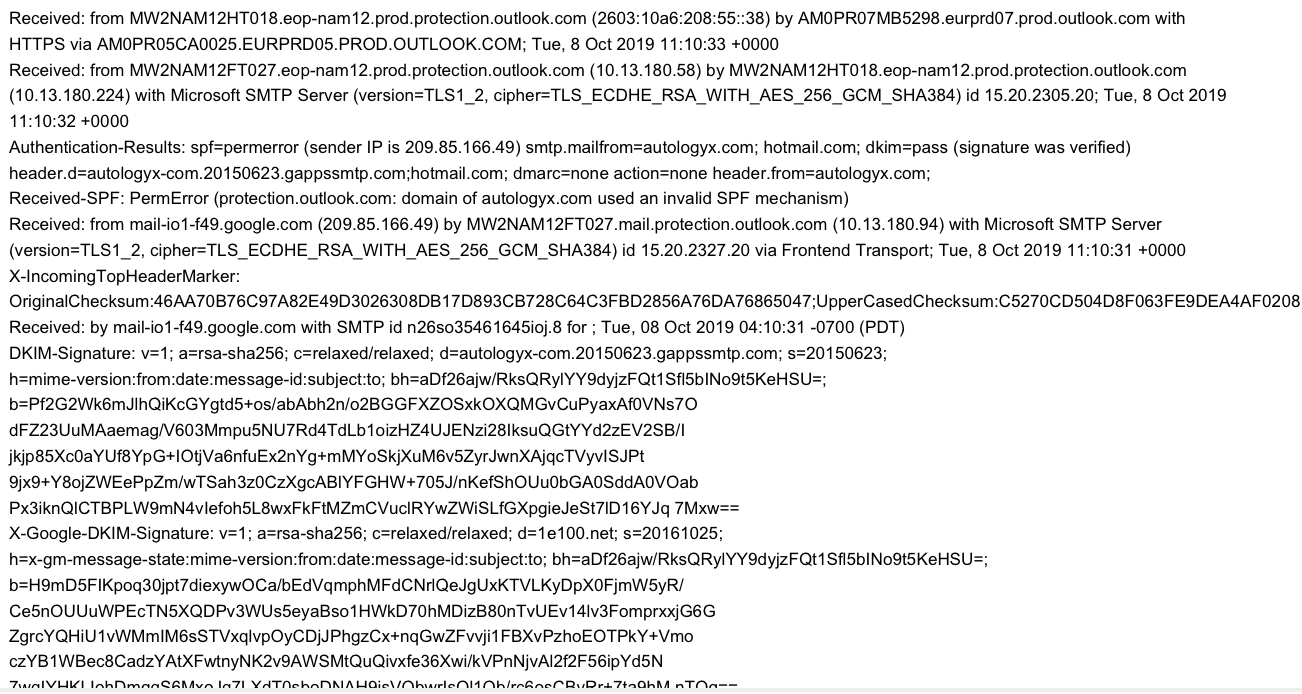
Save Headers – check this box to have the email header picked up and saved in plain text with the email body.
Summary Headers - gives you a brief summary including the Date/Time stamp, Sender, who the emails was sent to, who the email was copied to , if anyone, and the subject.

Full Digital Stamp - Full header including the above and extra information
Save Copy – check this box if you want to save a copy of the email into a subfolder. All emails that have been read by the email collector will be here. Emails that are sent to the subfolder can be further specified through the filters section.
Move to folder – specify the name of the folder into which the copy should be placed into.
Report Failures to – enter the email address to which any pickup failures should be reported.
Retain all docs on S3 – check this box if you have an S3 account and want to keep the documents here.
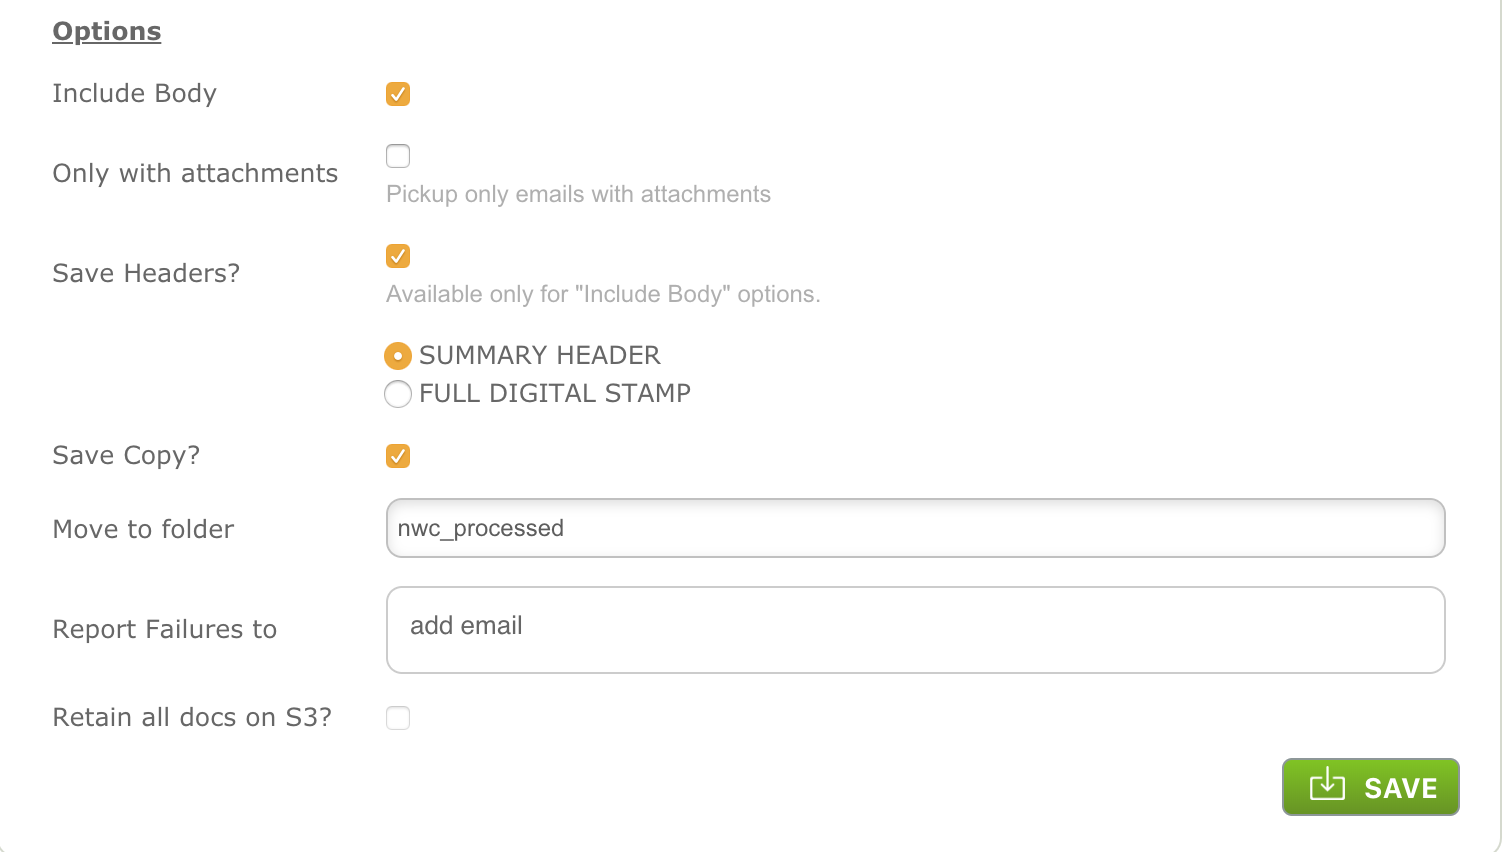
Click Save to retain settings.
Comments
0 comments
Please sign in to leave a comment.