In Autologyx, we have the ability to use both ‘Standard Validators’ and ‘Custom Validators’. In a different article, the use of ‘Standard Validators’ was demonstrated. In this article, the use of ‘Custom Validators’ will be explained.
‘Custom Validators’ have the same principle as ‘Standard Validators’, however with the ‘Customer Validators’, the specific value requirements can be created to whatever the user desires.
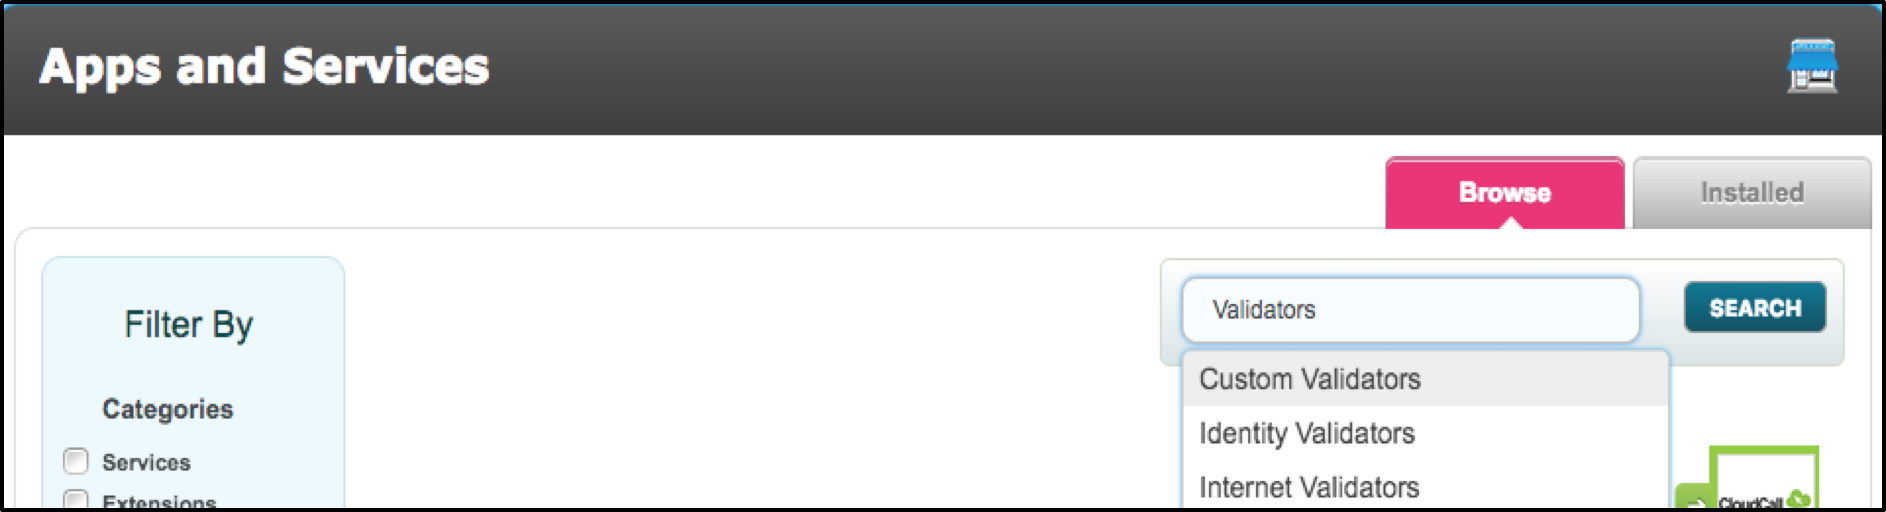
Head over to the store.
Then enter ‘Validators’ in to the search box. A list of options will be displayed, select the ‘Custom Validators’.
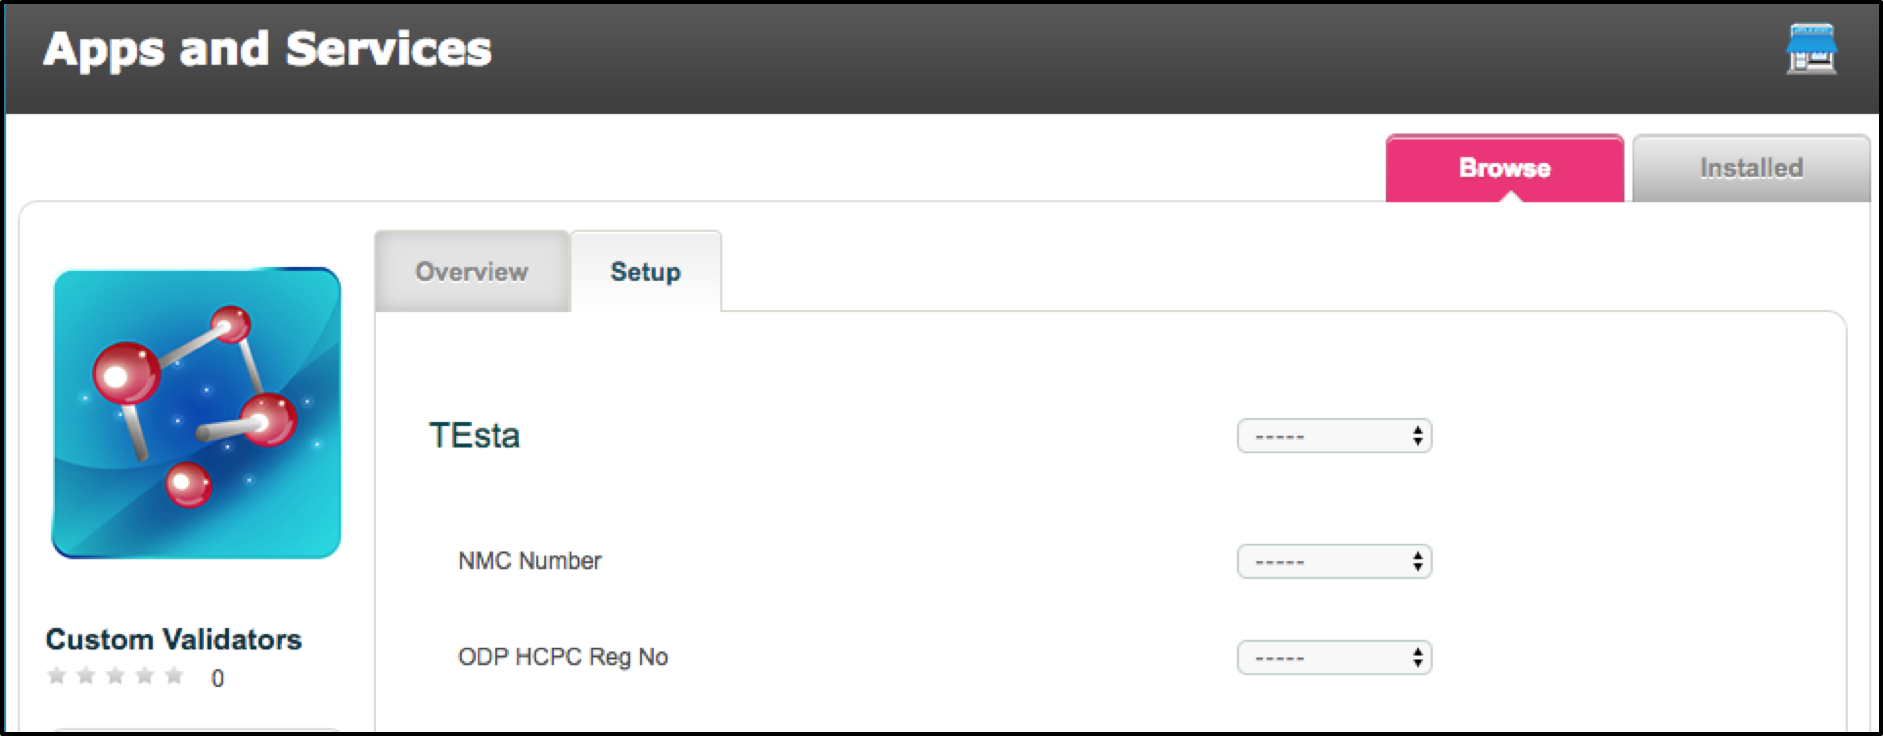
Once selected, click on the application displayed to install. After completion, click on the ‘Setup’ option, and below will be a list of any Custom Validators that have been created in the past.
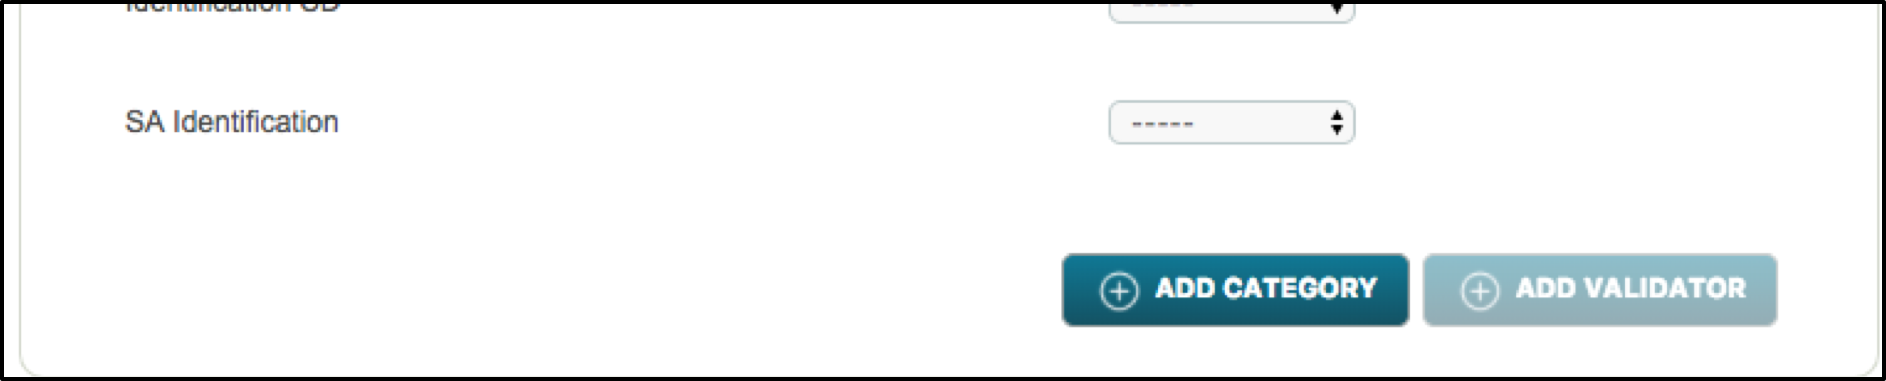
To create a new Customer Validator, scroll to the bottom and select the ‘Add Validator’ button.
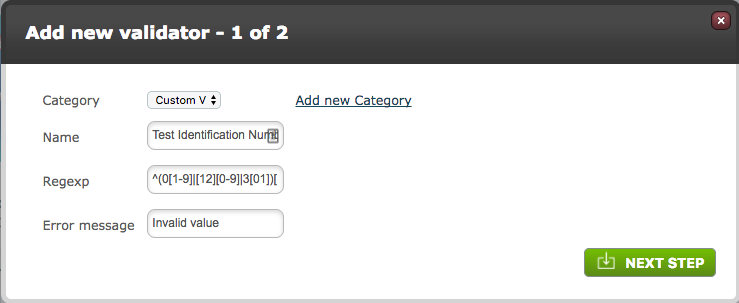
In the below image, shows the display of creating a new custom validator. Select the Category for the new Validator to be assigned to, the User will have the option to Add a new Category if necessary. Next step, is naming the Validator.
The ‘Regexp’ section, is the code where you specify what the target must use as the format. In this instance, this custom validator has been programmed to only accept this specific format. An example of this format is (21.05.1995/SPD/m), this is comprised of the date, followed by the targets initials, followed by whether they are male or female.
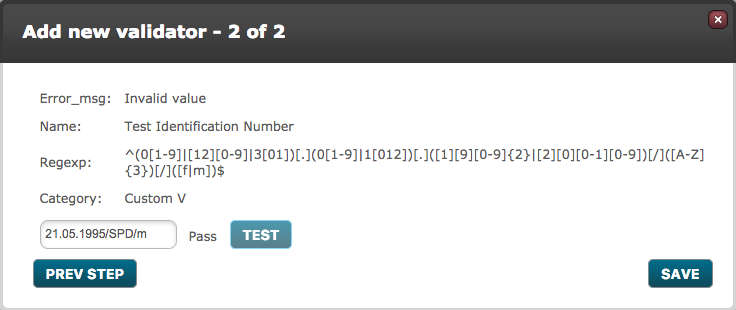
When the User selects Next Step, a box is displayed where this Regexp can be tested. To ensure the Regexp has the desired format, enter a value which meets the requirements.
Note: To learn and understand the Regexp programming formulas, use this website https://regexr.com/
If the target enters the wrong value as it doesn’t match the format of the Regexp, then in the ‘Error message’ section, this is where you inform the target of their mistake and for them to re-do it until the correct format is entered.
Once the custom validator has been saved, it will now appear at the bottom of the category you chose.
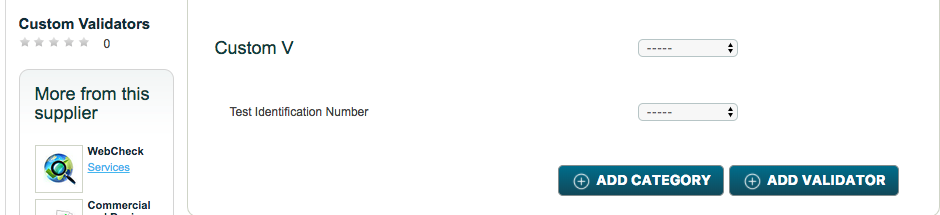 As with the ‘Standard Validators’, a target field needs to be created and then assigned to the relevant target group. Then select the Custom Validator that has been created, which will be at the bottom of the ‘Validators’ drop-down menu.

Again, as with the ‘Standard Validators’, a criteria needs to be created that has the response type ‘Target Field Completion’ and enter in the new target field. Once the criteria has been completed, create a level for this criteria and run the process with a target in the relevant target group.
Below shows an example of a target trying to enter in the ‘Test Identification Number’ in. Given they have not entered in the correct value to what the format is, the process will not proceed until they have entered in the value correctly.

In the store, there are plenty of validators that are the standard/default ones that you would expect, such as IP address or Domain name, but customer validators are used if a user wants to create a more unique/personal validator for whatever it is desired for. These custom validators can be edited; however, the standard validators cannot be edited, so please bare this in mind.
Comments
0 comments
Please sign in to leave a comment.