
Skins
In Autologyx, there is the ability to apply the ‘skins’ app as a custom stylesheet to the Target Portal of your build. The skins service can be purchased and downloaded from the store for a monthly fee.
Skins is similar to a HTML stylesheet. It gives the ability to apply your company branding, change and rename certain aspects within the system.
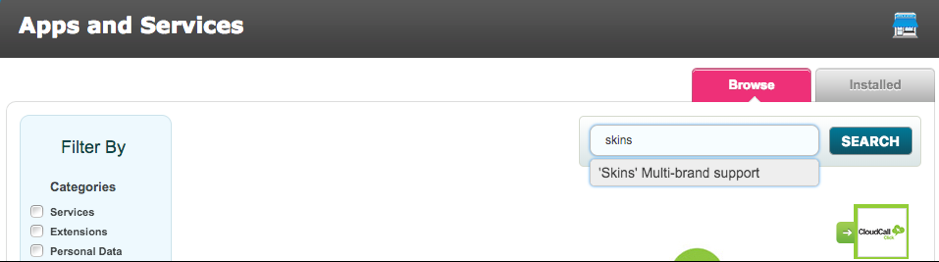
To download the skin app, go to Store > and search for Skins
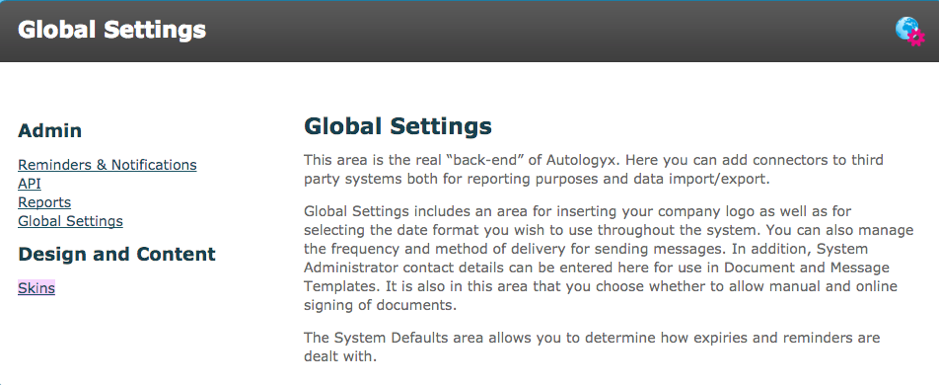
Once the skins app has been purchased and downloaded it will appear in Global Settings.
Go to Admin > Global Settings > Skins
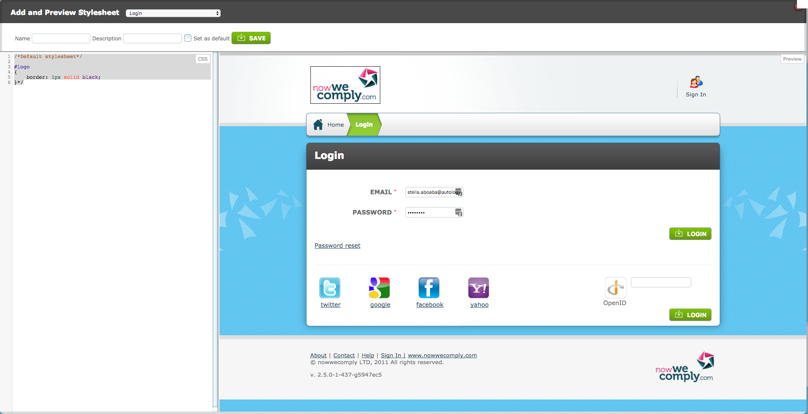
When the skins webpage is opened, the image below should appear.
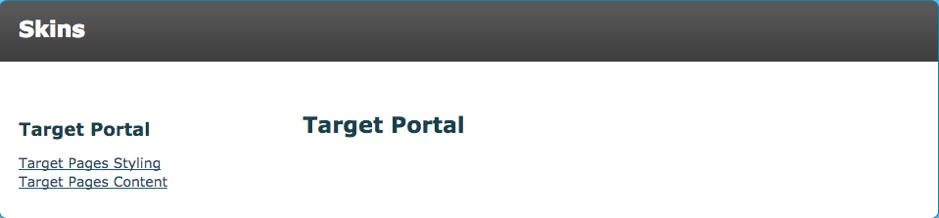
Click the Target Pages Content and create a new stylesheet by clicking the button on the top left-hand side

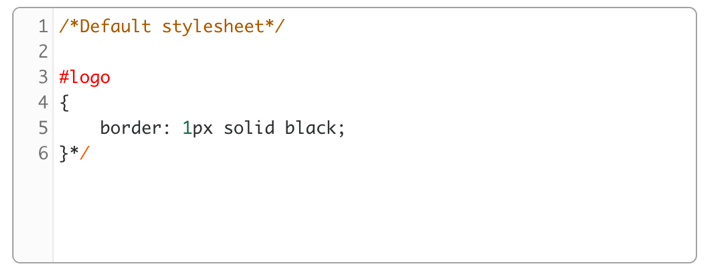
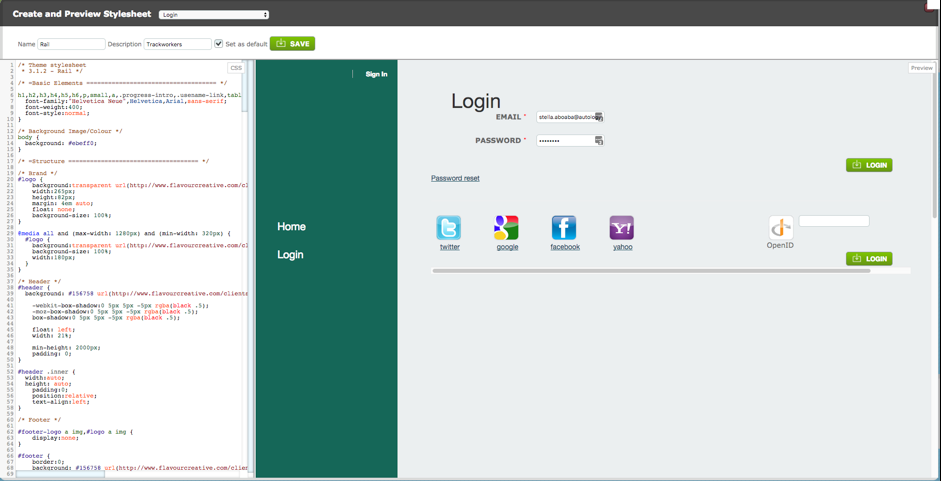
Once opened the following coded should appear in the left-hand side of the webpage. This is the default style that is implemented. As you can see on the right-hand side the default Autologyx screen is displayed. This updates in real-time as the code is updated.
Below is an example of a style sheet created within the Skins page.
Be aware that, the target portal pages carry a set of default styles which will be overriding in the CSS. You can preview the mark-up in the Skins admin area with a selection of screens from the target portal.
There is the option to use the chrome plugin “Stylish” instead of the mark-up, which can be learnt how to install here. This allows the user to log into the target portal as normal in a browser and create the styles there, before copying the code over to the Skins admin area when ready. This approach means the user can work with real relevant content rather than the demo content in the Skins preview.
When the skin is ready, use the admin area to name and save it,

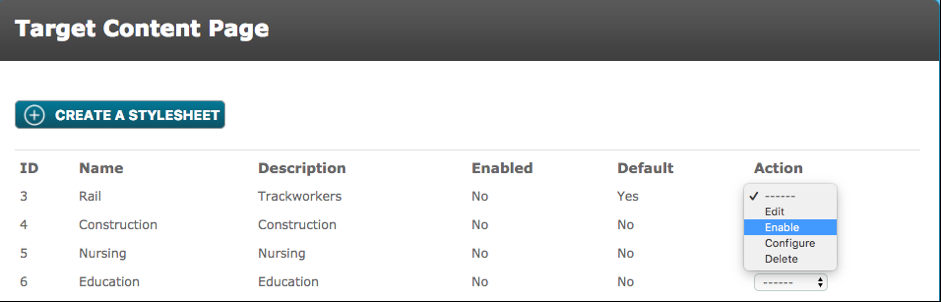
And then enable it in order for it to be functional as shown below.
- Enabled - An enabled skin will inject your custom CSS into the login page and all the target pages of the application. It won’t style the admin pages.
- Default – If none of the conditions relating to the skins that are enabled are met, the chosen skin will be the targets
- Action - A drop-down menu to select an action for the skin created
- Edit – Allows you to edit the CSS, name and description of the chosen skin
- Disable – If the skin is enabled, this disables the skin and vice versa
- Configure – The user can set conditions for a chosen skin to appear for different target groups depending on a condition. This is useful if you may have different stylesheets for different types of target, for example. Be aware that the login page - because the target is not logged in at that point - is only able to carry the default stylesheet.
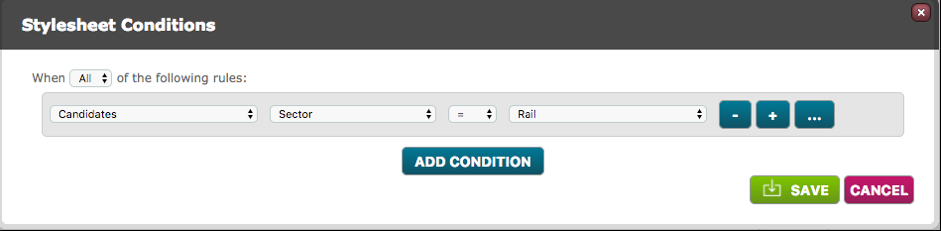
For example, the skin above is chosen to show when the targets in the candidate target group, contain ‘Rail’ in the target field called ‘Sector’.
- Delete - deletes the chosen skin
Autologyx can provide working examples of stylesheets that provide some generic overrides.
Comments
0 comments
Please sign in to leave a comment.