
Complete the initial fields as required.
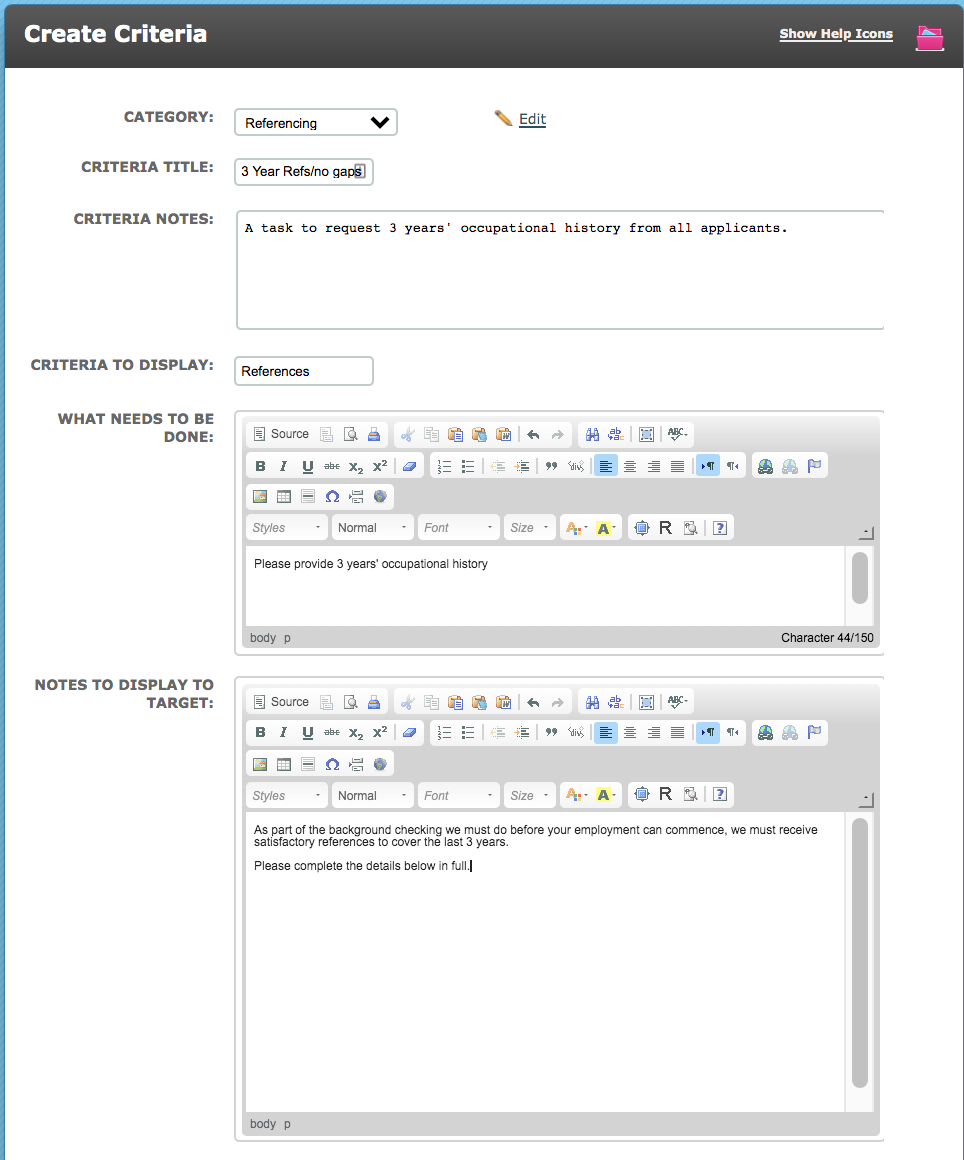
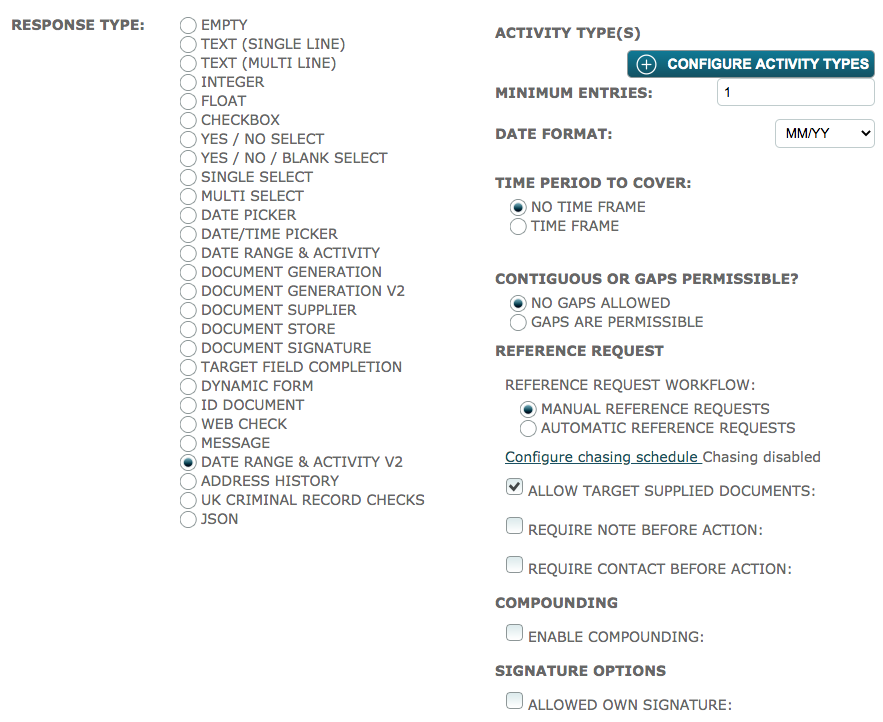
At the "Response Type" section tick "Date Range & Activity V2".
Click into the "Configure Activity Types" section. The following modal will be displayed:

This has a link which will take you back to the Store where you can amend or add Activity Types and Acceptable Documents.
However, if you are happy with your Store setup, click Add Activity. The following modal will be displayed:
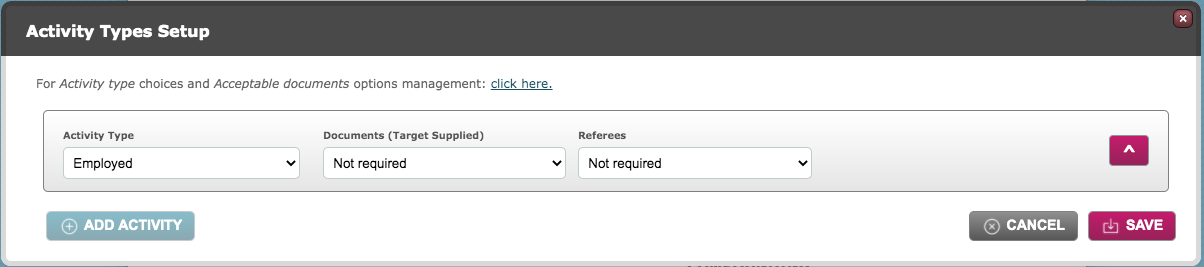
Here you will be able to set the specific requirements for each activity type.
Activity Type: select the first one you wish to configure.
Documents (Target Supplied): This field allows you to select whether the applicant is required to provide a document in support of this activity type. If you select Required the modal will present further fields one of which will allow you to select documents in the bottom left section, "Acceptable Documents (Target Supplied).
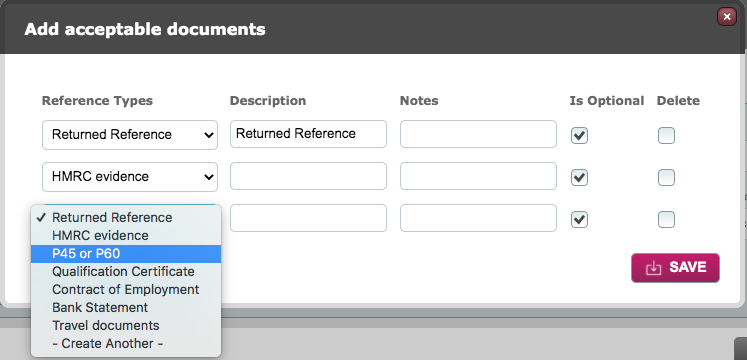
Acceptable Documents (Target Supplied): Click the button to add acceptable documents. A further modal is opened which will allow you to select document types which you have already created in the Store setup. Alternatively, there is a "Create another" option which will allow you to add any documents you have previously forgotten.

You can add a Description if the document type might be confusing. You can also add notes.
If you do not tick the "Is Optional" box the target will not be able to complete an entry with this activity type without providing the required document. Save this configuration and the modal will close.
Referees: If you select Required or Optional here, a new field for you to select the Target Group for referees will be displayed.
Target Group: The menu will contain a list of all target groups which have been mapped in the Store setup. Select the appropriate referee target group for this activity type.
Message Template: The template selected here will be used to make the first request for all references of this activity type. This menu contains all user defined message templates and the default reference request template which is automatically added to the message template list when the Date Range & Activity V2 criteria is installed. The default template is "Target: Reference Request". You might consider creating new templates for each activity type so that they can be more specific to the subject area.
Document Templates: The document template selected here will be attached to automatic reference requests for this activity type. It will also be available to be attached if you choose to make the request manually. This menu links directly to the Document Template list. If you would like a reference form to be added to your reference request email it should be created in the Document Template area and selected here.
Reference Statement Template: This menu also links directly to the Document Template list. It allows you to select the template which will be used to present the returned reference when the online form is used. The default template for this is called "DRAA2 Reference Statement". Again this template is automatically added to the document template list when the Date Range & Activity V2 criteria is installed. It is important to note that should you wish to embellish or enhance this template you must not delete or alter any of the If Statements or merge fields.
Online Form checkbox: Ensure that this box is checked if you wish to make the reference request via the online form. If you choose this method, the referee will receive an email with a link to the online form. They can choose to approve or amend the reference detail before signing and clicking a complete button. Their reference is immediately seen as "returned" on the dashboard and the patron will be notified of its return.
Accepted Returned Docs: This area allows you to select certain documents which are acceptable as an alternative to a reference. If you select "Alternatives Accepted" an additional field called "Acceptable Documents" is displayed.
Acceptable Documents: Click into the field and a further modal is displayed. Here you can select alternative documents (from the list in the store) which are acceptable if a reference cannot be obtained. When you click into the Reference Types menu there is a "Create Another" link at the bottom of the list which allows you to add further documents rather than having to go back to the store to add them. These document, will be uploaded by the system user (patron) to satisfy the reference requirement.
NB If you have a number of options here they should be marked as optional so that any one of the list can be selected by the system user to confirm the reference.
Upload Conditions: Click to enter conditions which present as checkboxes which must be checked as confirmation at the time of uploading the document.
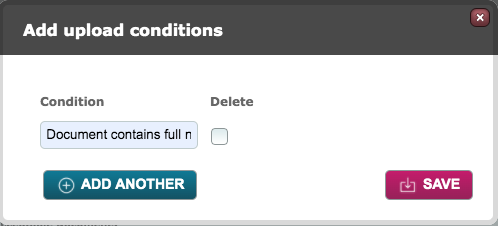
Enter the required condition(s) and Save.
Continue adding activity types until you have all that are relevant to how the criteria will be used then Save.
Example of the configuration for a typical activity type:
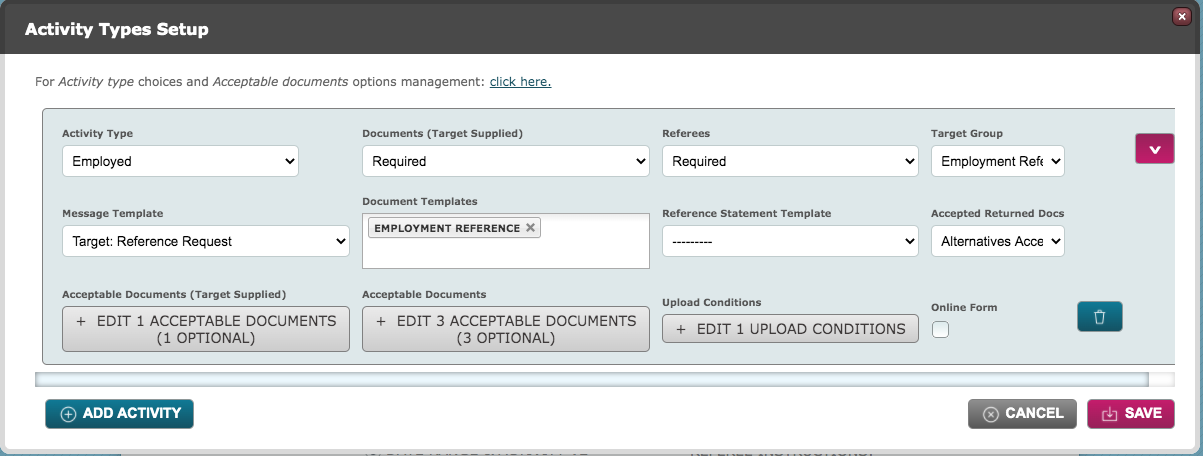
The above screenshot shows the configuration for activity type "Employed". A bespoke document template will be generated and attached to the default reference request email. The target has the option of supplying a document in support of the activity. The system user has the choice of three possible document types to confirm the activity.
A further two activity types have been added:
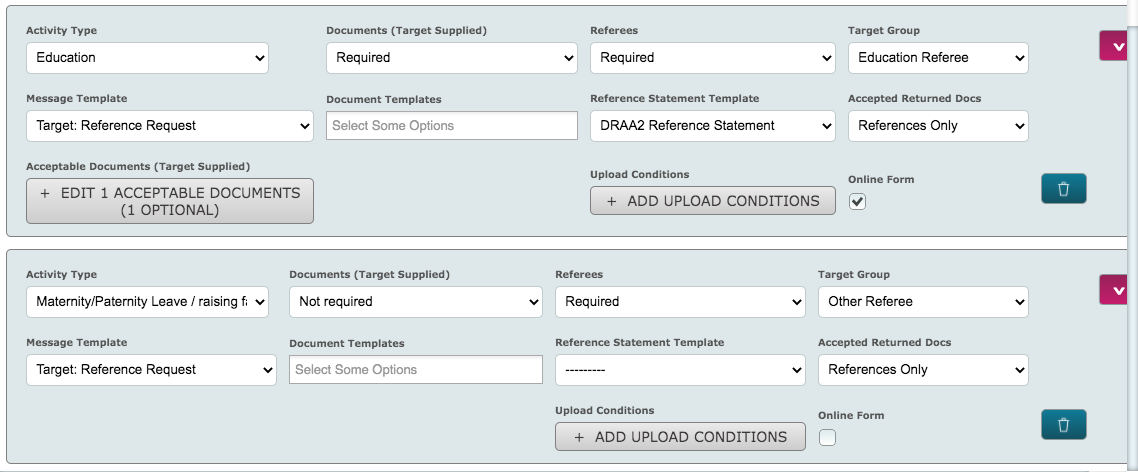
For the activity type "Education", the default reference request email is being used together with the online form. A different Referee target group has been selected so that the target can be asked to supply information relevant to this activity type. The target can optionally provide a qualification certificate in support of the entry.
For the activity type "Maternity/Paternity Leave / raising a family a different Referee target group again has been chosen. An email will be sent to make the request.
Having set up the required activity types save the modal and return to the main criteria page. The following fields should be configured:
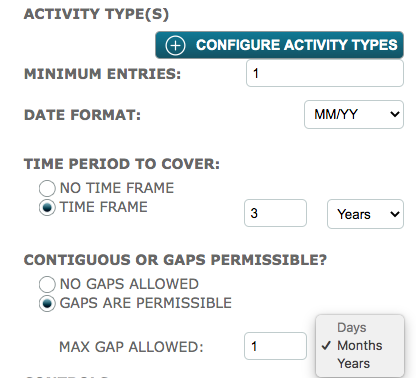
Minimum Entries: Enter the minimum number of references required to satisfy the criteria.
Date Format: Select the required date format - MM/YY or DD/MM/YY. If you choose MM/YY you will not have the option to set a gap tolerance in days.
Time Period to Cover: If you select Time Frame, two further fields will be displayed so that you can enter a number of months or years.
Contiguous or Gaps Permissible?: If you select Gaps are Permissible, two further fields are displayed so that you can enter the maximum gap allowed. Note that the date format is MM/YY and the "Days" option is greyed out here.
Controls:
Require Disclaimer: This option allows you to present a disclaimer to the target which asks them to tick a box confirming that you have permission to approach their referees. A link will display - "click to enter". Click the link and enter your disclaimer text in the modal. Save.

Approval Required: If checked this will mean the criteria will require an approval after all the activity entries have been confirmed. The approval must take place before the criteria can be completed and get a status of Pass.
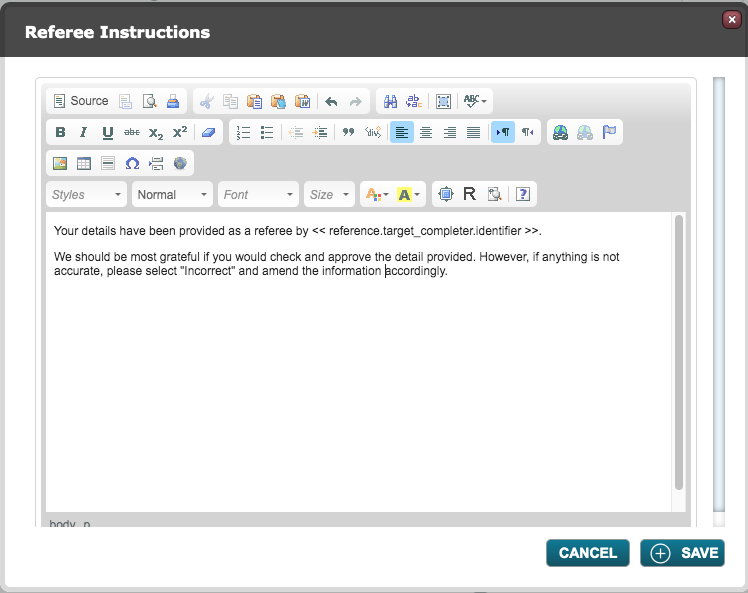
Referee Instructions: This option allows you to provide specific instructions to the referee in place of the default instructions found at the top of the online form. If you are using the online form to request references about a number of activity types, remember to keep these generic so that they are fit for purpose across the different activities. Click the link to edit or add your own text. Save.
Default:
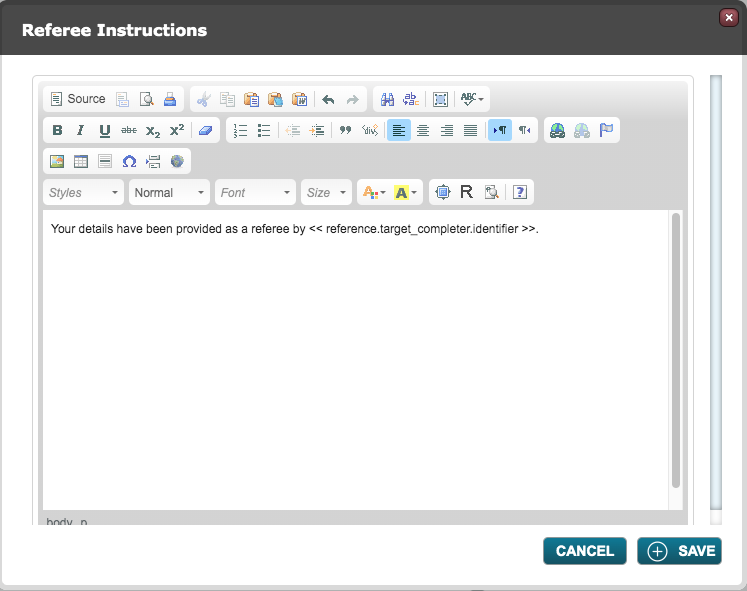
Amended:
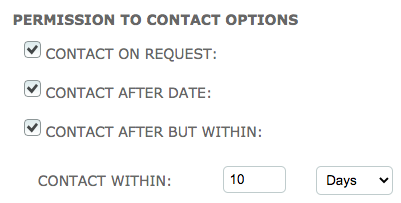
Permission to Contact Options: These options allow the target to provide referee details but to put in place measures to delay the reference request being made. If not contact options are offered or not taken up by the target and the Reference Request is set to Automatic the request will go out to the referee as soon as the target completes their data entry.
Contact on Request: Enabling this option will ensure that the system user has to contact the target for their consent prior to being able to approach the referee.
Contact After Date: Enabling this option will give the target the ability to provide a date in the future from which the referee can be contacted. This is particularly useful for them when providing details about their current employment which they have not yet left. A further option is displayed, "Contact After But Within". When ticked the Contact Within fields are presented so that the delayed time period for contacting the referee can be limited as shown below.
Reference Request:
Manual Reference Request: If selected, this option will allow the system user to check the activity details and referee email address before sending the reference request from the dashboard.
Automatic Reference Request: If selected, so long as there are no blocking conditions, the reference request will be sent without intervention from a system user as soon as the target has completed their data entry.
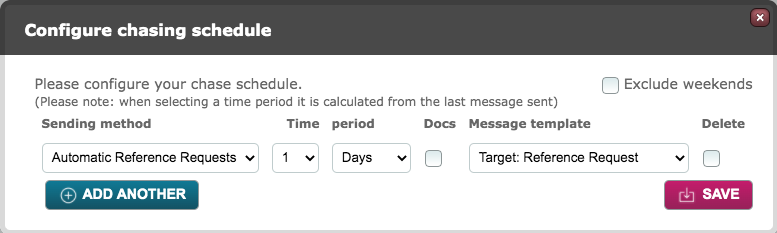
Configure chasing schedule: Click the link to set up the chase cycle for this criteria. The following modal will present:
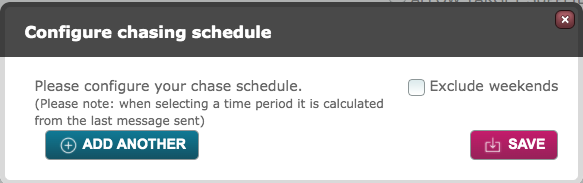
- Note the information given - the first chase will be sent on the time period after the initial reference request. Any subsequent chases will be sent on the time period after the preceding chase
- Click the Add Another button. The following modal will present:
- If you wish your chase cycle to be calculated from only working days tick the Exclude Weekends box. This will then restrict you to add chases in increments of days, hours or minutes. Weeks and months will be greyed out
- Select the Sending method:
- Automatic Reference Requests - these will be sent out as per the scheduled time without intervention from a system user
- Manual Reference Requests - the patron will be notified that a manual chase is due. They must then go to the dashboard to send the reminder
Please note: once a reference has been returned and confirmed the chase cycle will automatically stop for that activity.
- Select the time period from the last message which should elapse before this chase becomes active
- Docs - ticking this box will ensure that any attachments which were sent in the initial reference request will also be attached to the chase messages
- Message template - select the message template to be used for reminders:
- Automatic Reference Requests - default template is "Target: Reference Request"
- Manual Reference Requests - default template is : "System User: Reference Chase
- Add another and configure each chase until you have a sufficient number. There is no limit to the number of chases you can configure. Save the modal
User defined message templates can be created in place of the default messages but if using the online form ensure that you include the link to it and keep all merge fields in place.
Example of a typical chase cycle:
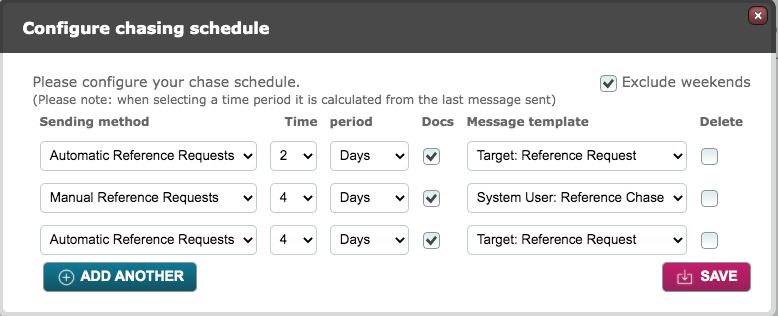

When the chase cycle modal is saved, the number of chases is confirmed alongside the field as shown above.
Allow Target Supplied Documents (only visible if Reference Request Workflow is "Manual Reference Requests):
Require note before action:
Require contact before action:
Compounding: Tick the box to Enable Compounding. In the Compound Against field, select the criteria which this one should be compounded with. You can select more than one criteria to compound against.
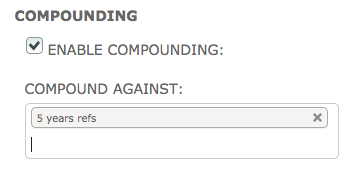
Compounding provides the ability to populate multiple DRAAV2 criteria from a single point of data entry. Requirements from two DRAAV2 criteria may be similar enough that the given activities could be relevant for both, compounding can populate multiple criteria including any referencing. It is also useful in the Recruitment sector where an applicant may be put forward for two roles with different reference time period requirements or where an applicant has completed an assignment and applies for another job and simply needs to top up their activities to the present date.
Note: Criteria can compound against each other, creating bidirectional data entry between criteria!
Criteria which are compounded must have common activity types and must be compatible in their date format.
Allow Overwriting: we advise that this function is not used as it is soon to be removed.
Signature Options:
When "Allowed own Signature" is ticked, the referee will be able to sign the online form with their chosen name as opposed to that provided by the applicant and stored in the First Name and Last Name of their record. For example, Robert Smith may choose to sign as Bob Smith.
This option only relates to the use of the online form.
Complete the rest of the criteria as required. You will note that there is no field for "Who to action by default". This is because the criteria is designed to be answered by the target then processed by the system user.
Cautionary Note: If you do not wish the target to be able to view returned references in the portal, ensure that you tick NO to "Documents Visible to Targets?" at the bottom of the page.
Please Note: If you require some applicants to provide references for a longer period or you have a requirement where for example 2 references covering any time period would be acceptable, then each different set of rules must be handled by its own criteria.
Comments
0 comments
Please sign in to leave a comment.