In Autologyx we call HTML forms "Dynamic Forms" and you will need to install this item via the Store.
The first Dynamic Form is free of charge. Additional forms will be charged at a monthly rate. See the Store for details of costs.
A Dynamic Form can be created and saved on a local or shared drive, or a hosted URL. It can be used to add targets to the system and to edit existing targets.
Create a form
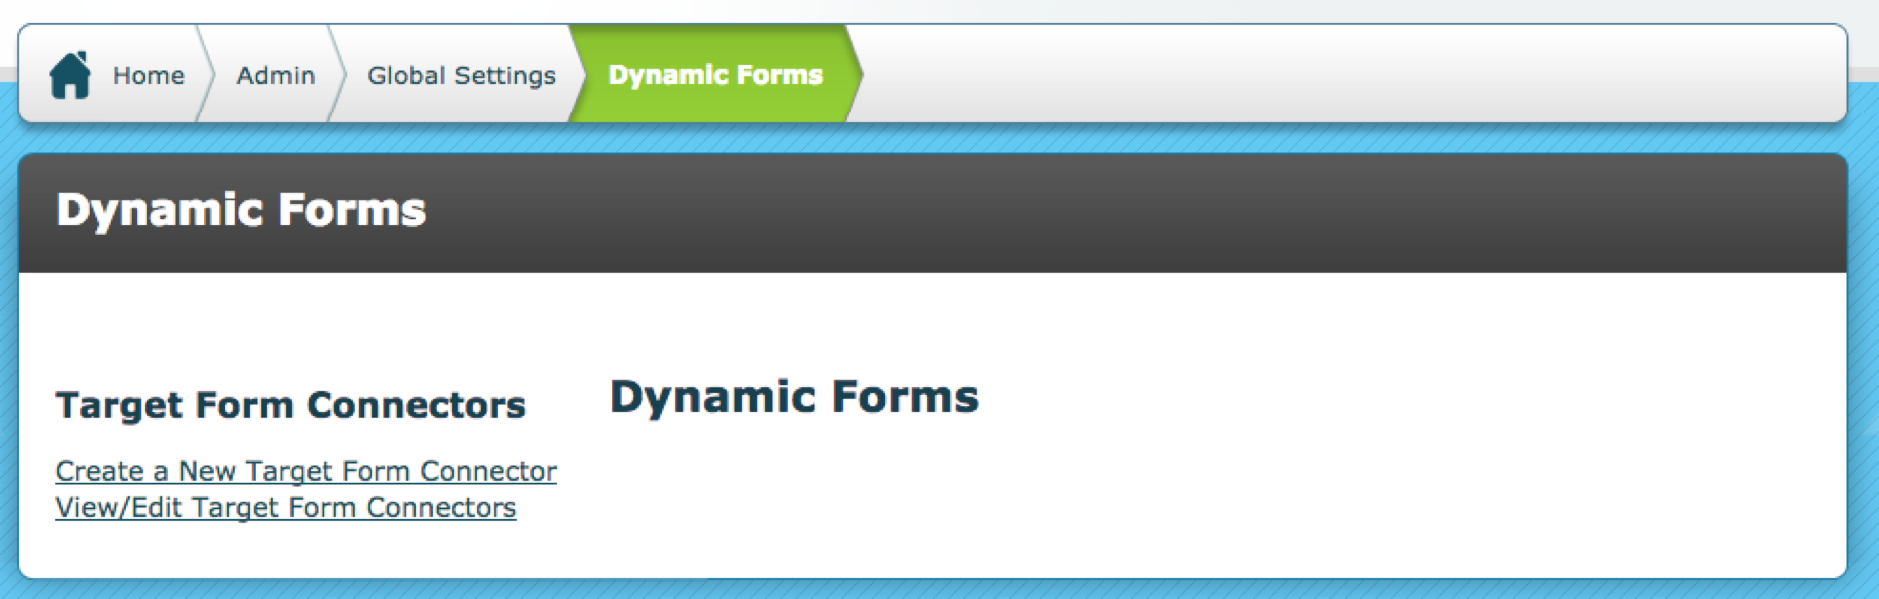
To create a Dynamic form, go to Admin > Global Settings > Dynamic Forms > Create a New Target Form Connector
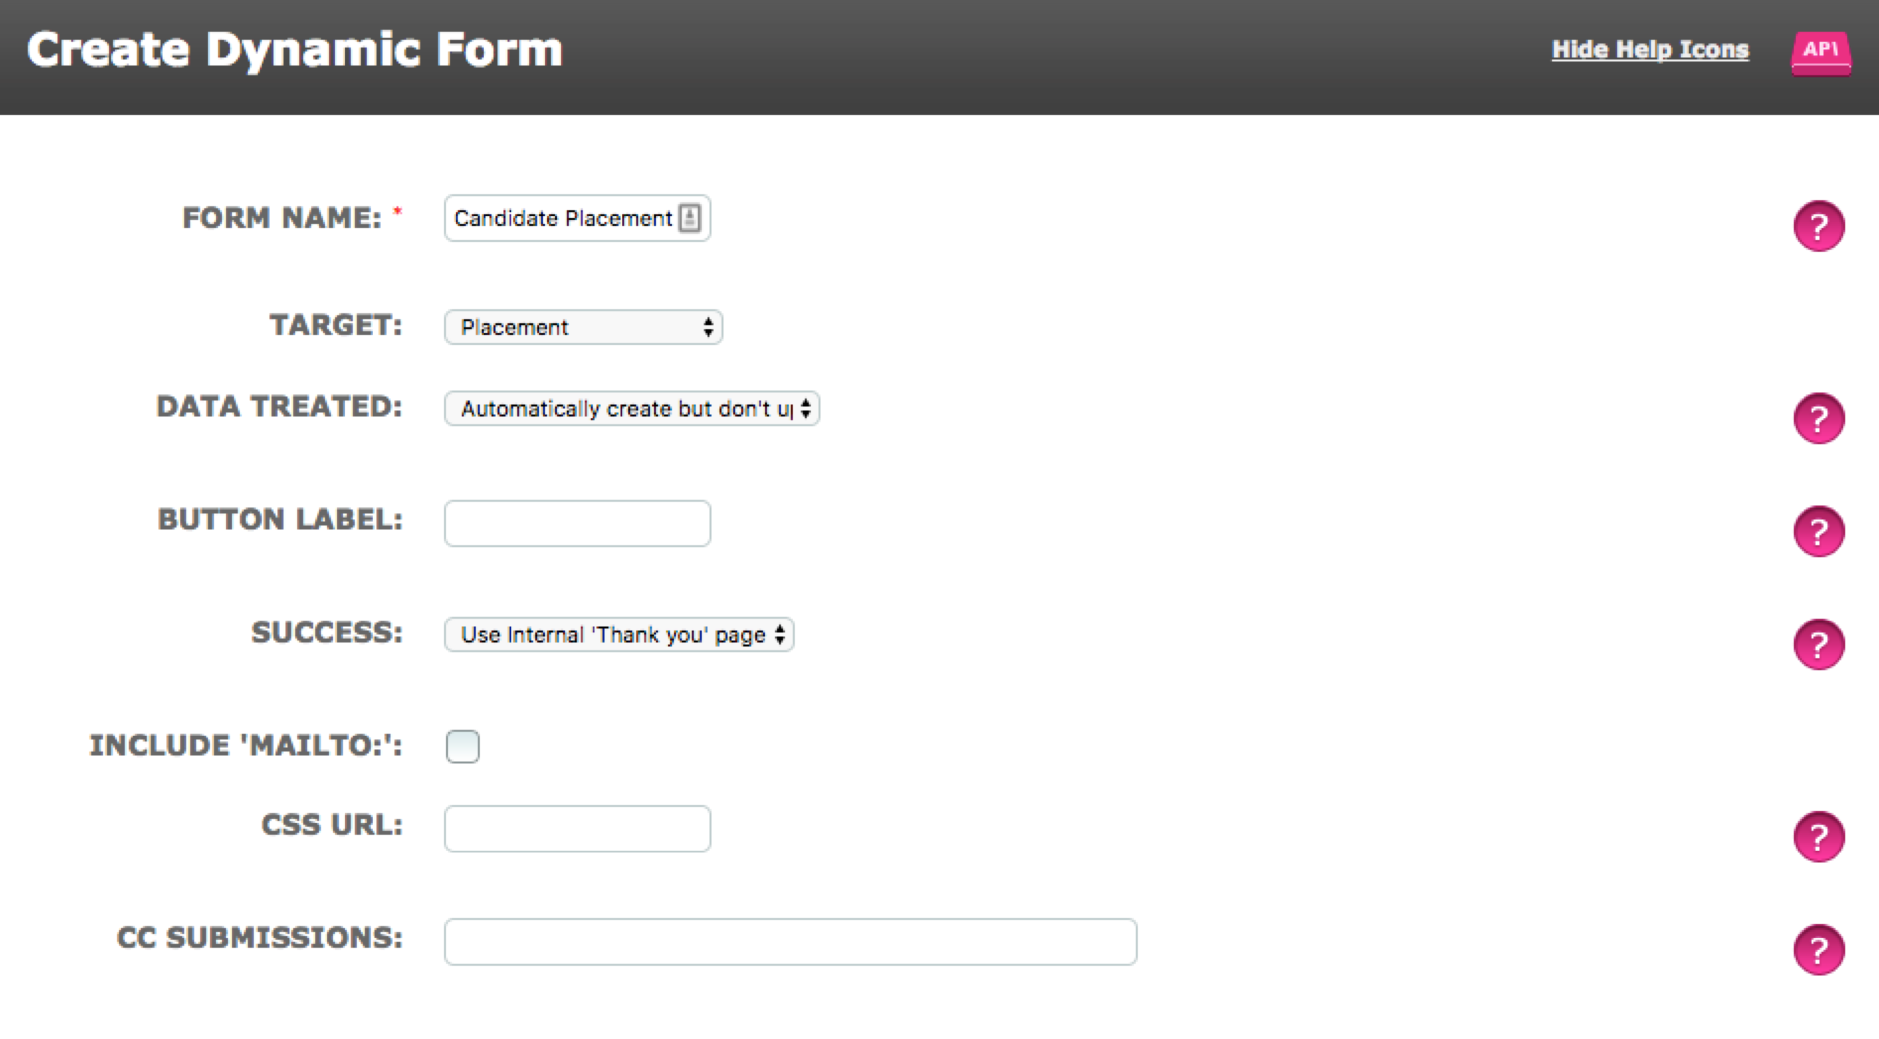
Form Name - Give the form a name which makes it easily recognisable to the users.
Target - Select the required Target Group from the drop down menu. A Dynamic Form can be used for creating/editing targets in a Person, Thing or a Relational Target Group. One form is required per target group irrespective of target type.
When a relational target group is selected additional fields are displayed:
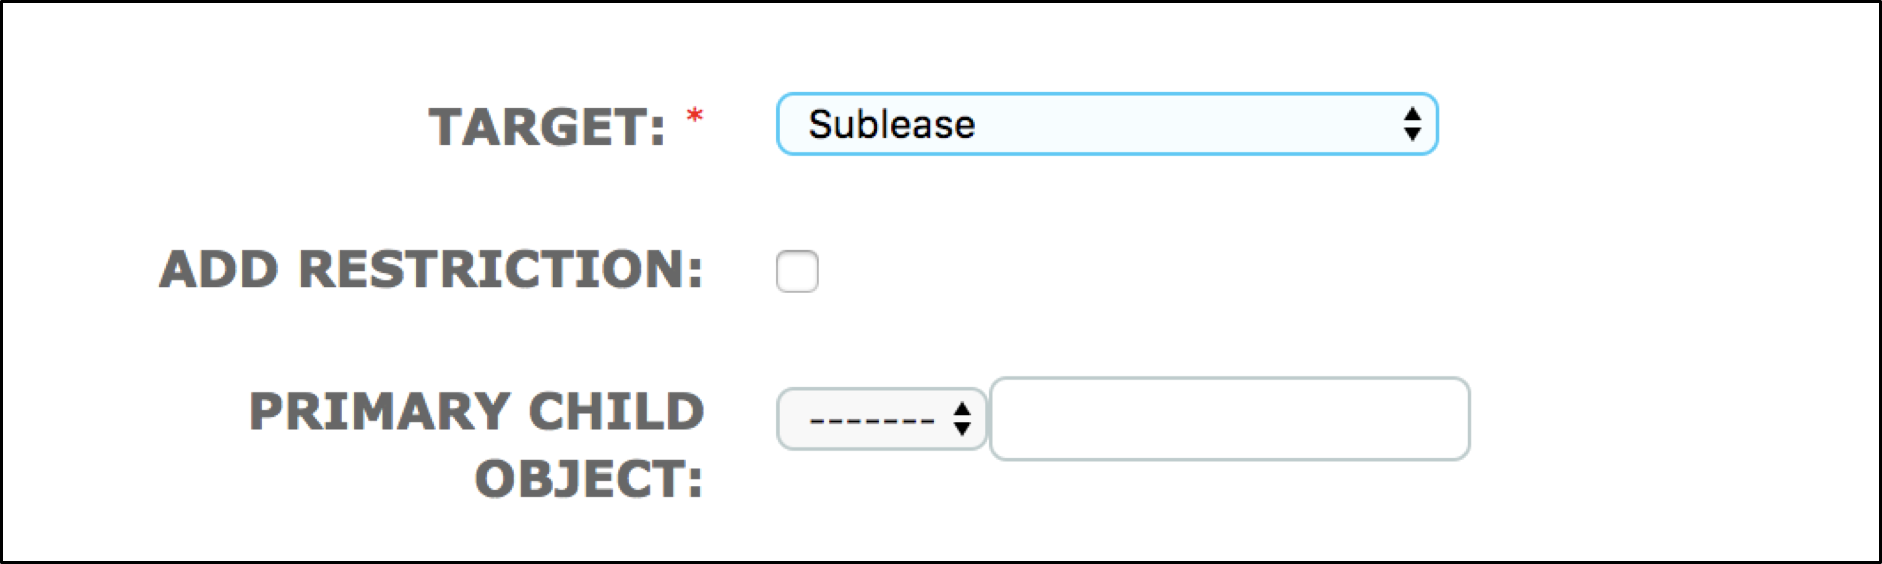
Primary Child Object – These fields allow you to select a default Child Target Group/ Child Target to be present in each relationship of this kind.
An example of a use case for this could be where you have a Target Group for a specific client eg Client A, which contains targets for Sales, Marketing, Production, R&D, HR, Supply & Logistics, Finance. You could select this Client A as a child of the relationship and select the appropriate department so that the departmental child target was present in each relationship created via the form.
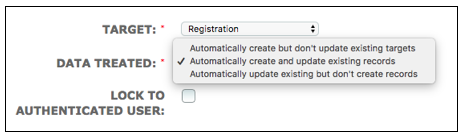
Data Treated – This allows you to select how the form can be used.
Automatically create but don’t update existing Targets - this option allows you to create an individual or relational target. In addition, it allows you to create or select existing child targets for the relationship.
Automatically create and update existing records - this option allows you to create or update an individual or relational target. As above, child targets can be created or selected for the relationship but they cannot be updated.
Automatically update existing but don’t create records - this option allows you update existing targets. In the case of a relationship the relational target can be updated but not the child target.
If the Target Group selected is of the Person type and Data Treated is either "Automatically create and update existing records" OR "Automatically update existing but don't create records" an additional field is displayed.
Lock to Authenticated User - ticking this field will lock the form to the target user in that it will recognise their email address and populate the form with existing data from fields on their record which also appear on the form. Therefore you must have email ticked as the Target lookup (selection) as shown below and configure the roles you would like this row to be restricted to:
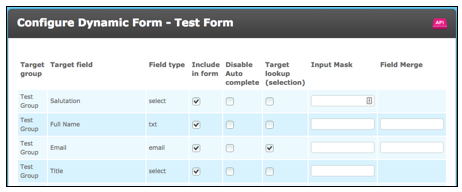
Targets will be able to update their records including adding data to previously empty fields.
Please note:
- at present ALL system users will be able to access and use the form. However, please note you will not be able to use the "Restrict by Groups" feature.
- this feature does not work with 1-time completion target users.
Button Label - Enter the text you wish to appear on the button which will be at the bottom of the form for target submission to ALX (e.g. Submit/Confirm/Create).
Success – Either choose Use Internal ‘Thank You’ page for a default screen once a new Submission has been made. Or choose Use External URL and enter the web address of the page you want the user to be taken to once the target has been submitted. This is likely to be a page on your company website or hosted in the same place as your website.
Include ‘Mailto:’ - This feature can be enabled by ticking the box. Additional fields are presented as below:
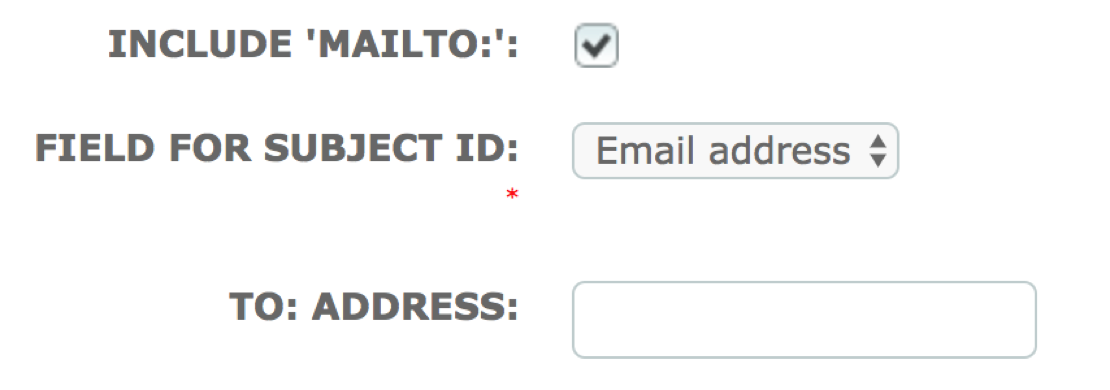
Field For Subject ID: select the option which will automatically be populated into the email subject field.
To Address: If you are using the email collector feature and wish to send an email/attachments to the target's unassigned documents tab, enter the mail collector mailbox address.
If you want to inform a specific user when these targets are created/updated via the form, enter the user's email address.
Alternatively, leave this field blank to allow any email address to be added on successful submission of the form.
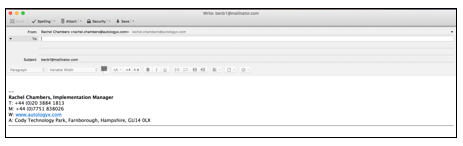
When the form is submitted there is a "Send Email" link next to the "Back to form" link.

Click the Send Email link and if you have specified the subject it will appear as shown:
Please note:
- if you have installed and configured the email collector and wish to have the email sent via the email collector in order that the email and/or attachments are sent to the target's unassigned documents, your subject field must match that which is set up in the email collector ie either target's email address or ID number. Do not use "Empty Subject" in this case.
- if you are creating/editing a relational target and using the email collector, the documents will be sent to the child target's unassigned documents.
- if you are not using the email collector you can choose to have the subject field blank for completion prior to sending.
CSS URL - Enter the web reference address of the stylesheet you wish to use in order to apply branding or other styling to your page.
CC Submissions - enter an email address which will receive notifications about every target submission via the dynamic form.
EMBEDDED ASSETS
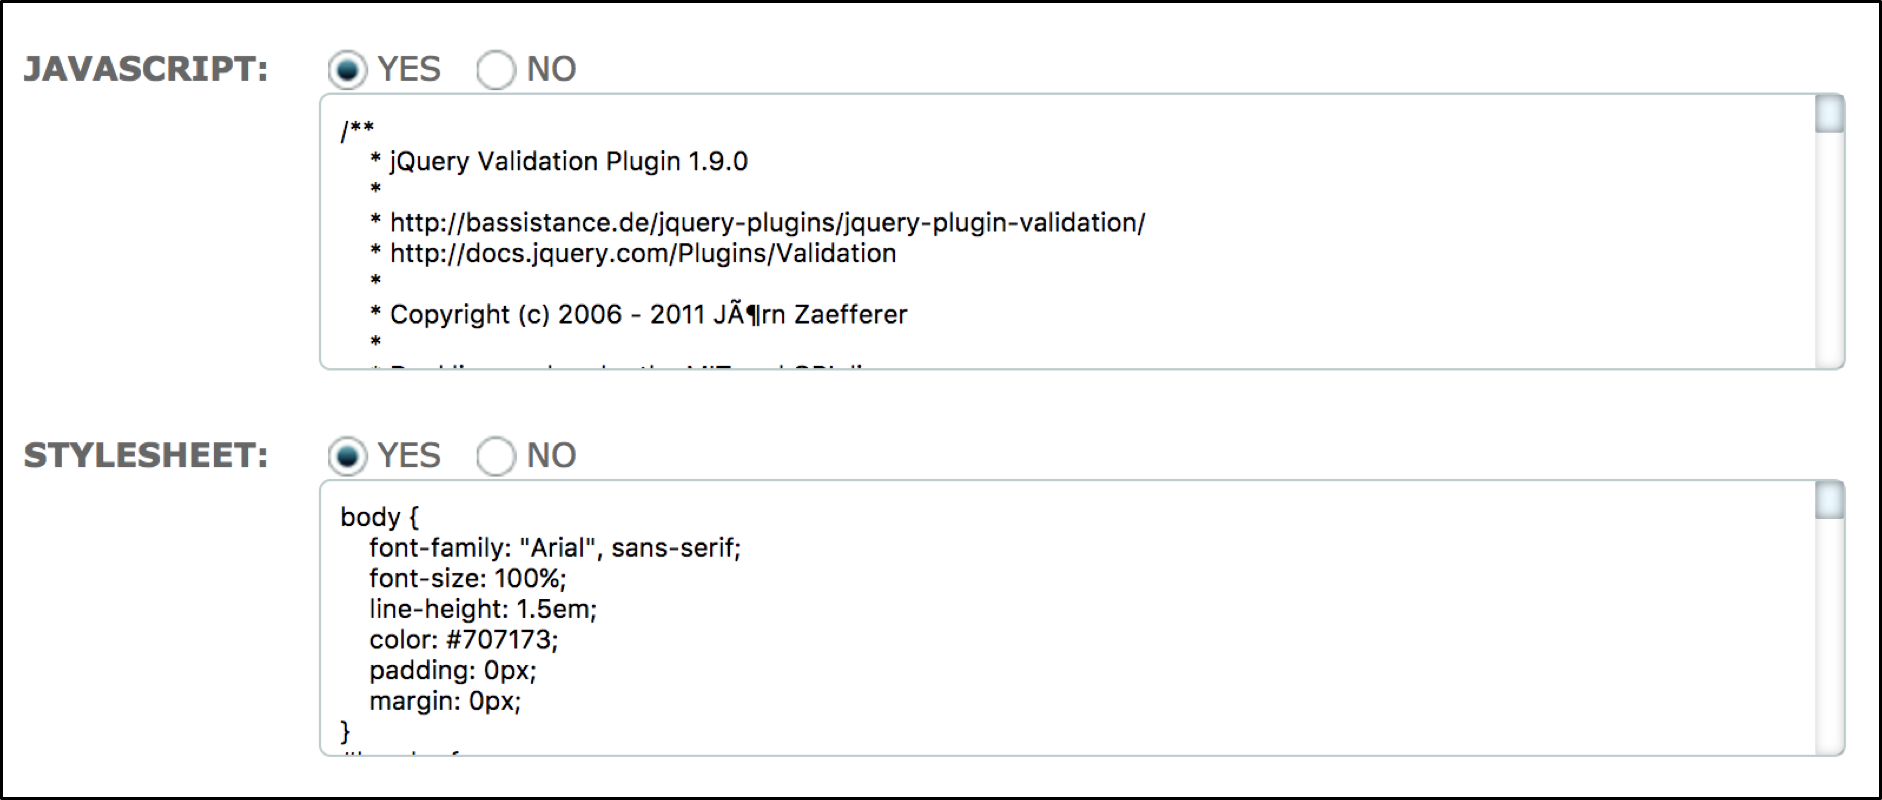
When YES is selected in these fields, additional fields are displayed in which javascript can be entered to add field conditioning, etc or a stylesheet to add colour, design and layout. This means that client branding can be added and the form can be made to work in an “intelligent” manner.
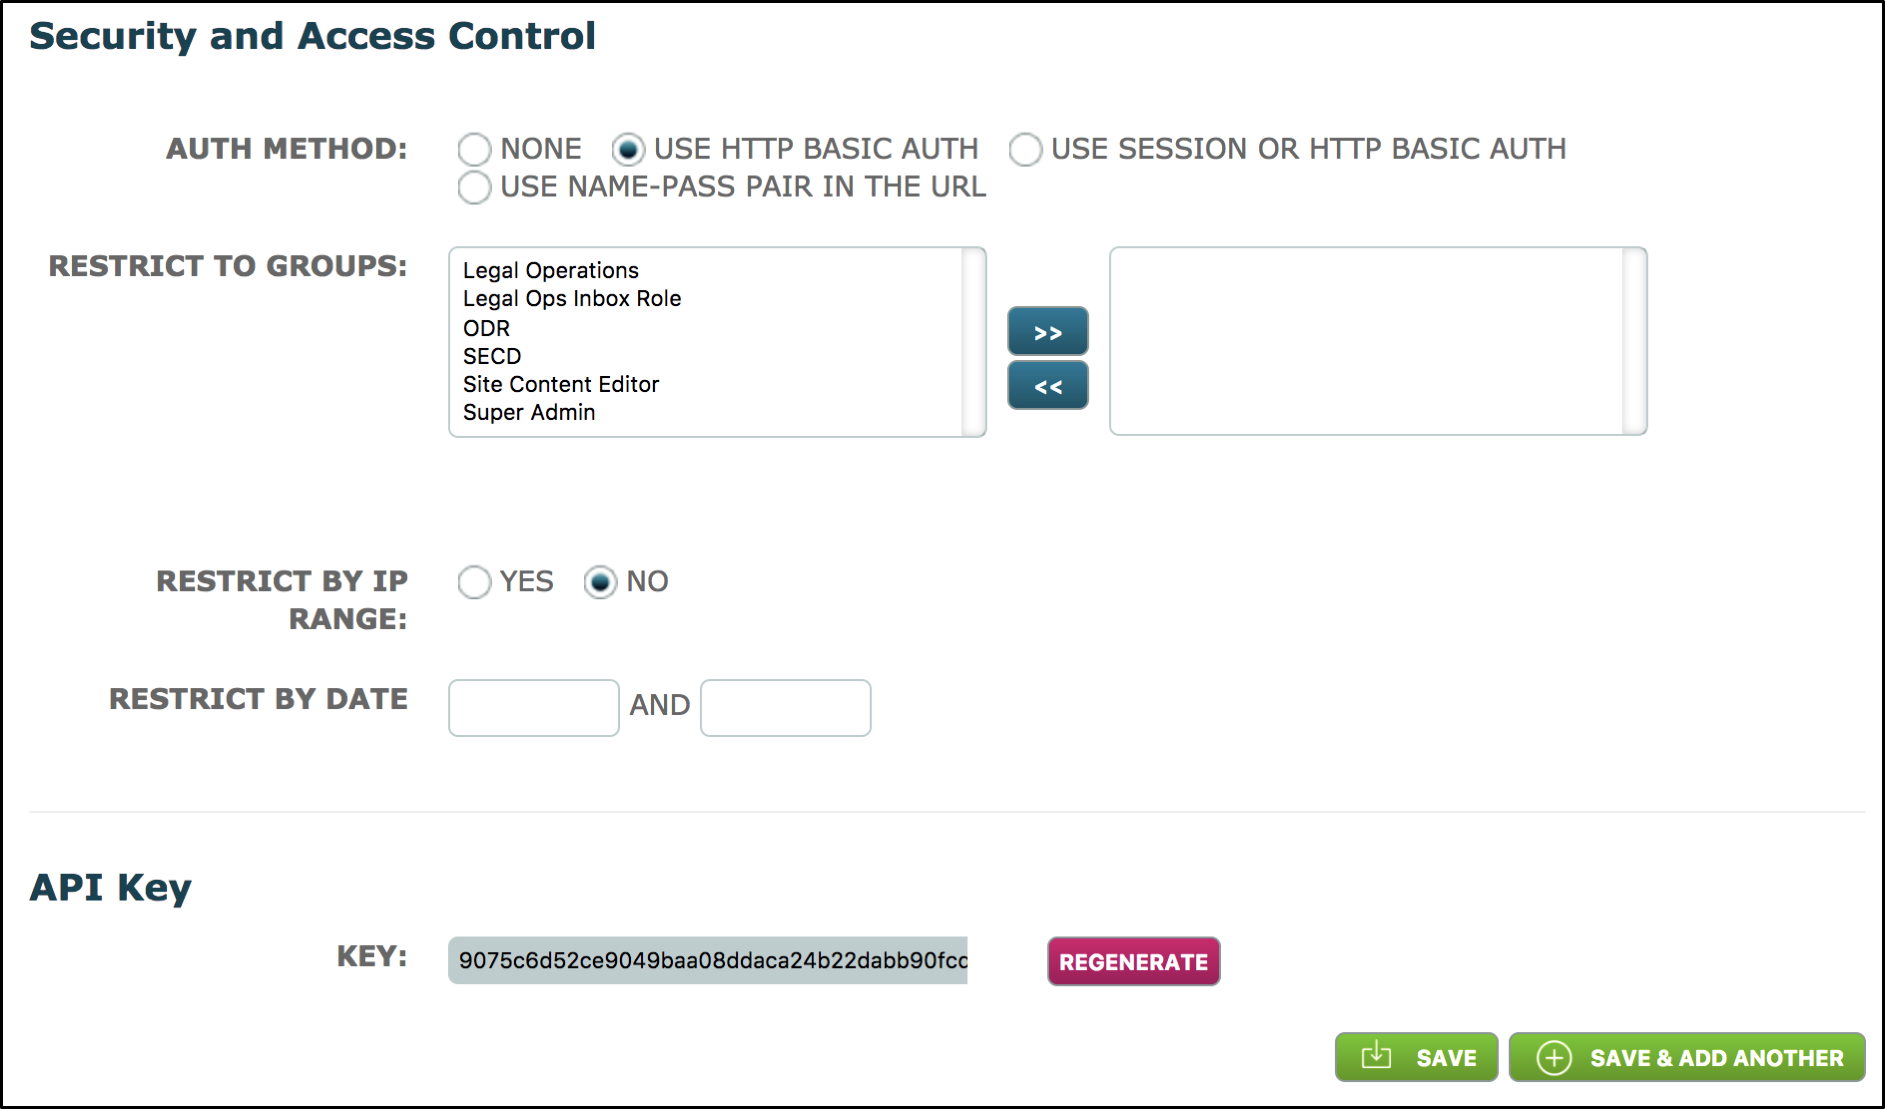
SECURITY AND ACCESS CONTROL
Auth Method - Select the appropriate authentication method. These would be used as follows:
None – only available if the selected target group is a Person or Thing type. This will present the form as a Download.
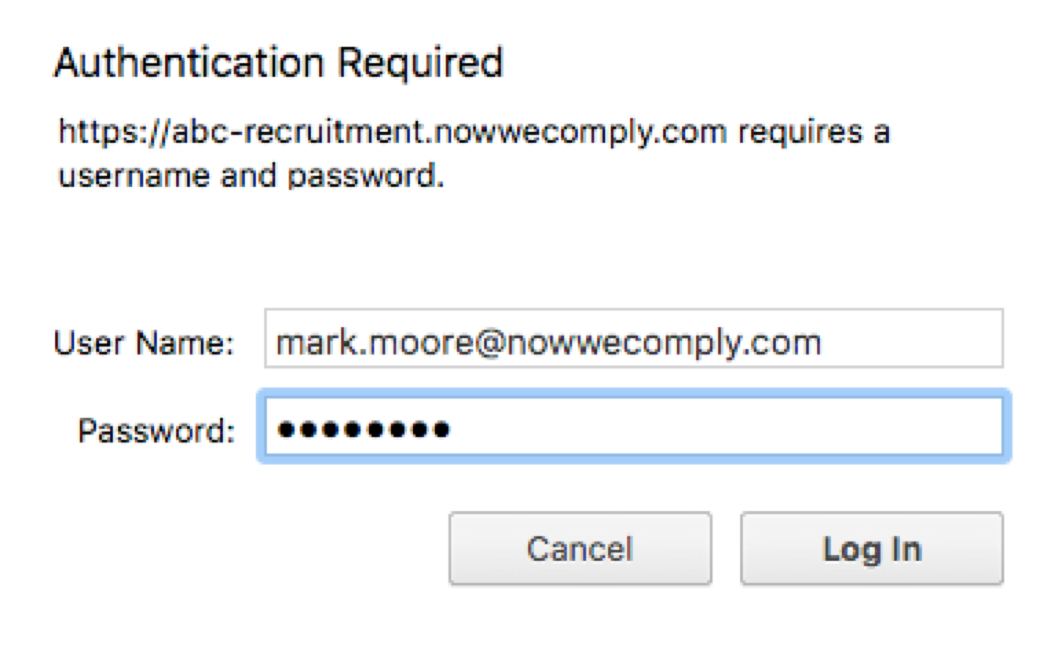
Use HTTP Basic Auth - this option requires the user to enter their ALX user name and password in order to use the form. The form is presented as a URL.
Where lookup is used on a field to reload previously submitted records this authentication method must be used in order to establish that users of the form are substantiated users of the ALX system.
Use Session or HTTP Basic Auth – this option is similar to the above but it allows the user to login to ALX then access and use the form without having to login to the form as a separate entity.
Use Name-Pass Pair in the URL - this option is currently not supported. Please do not use.
Restrict to Groups (if using HTTP Basic Auth) - Select the System User roles which are allowed to post via this form. Users must authenticate as described above.
Restrict by IP Range - Useful when a form is to be hosted from a known network location (such as on an internal intranet) where you wish to avoid the added complication of a user-validation approach (like Kapcha). If you select Yes, you will need to enter the location's IP addresses. Use the +Add More button to include as many IP addresses as required.
Restrict by Date - Enter the start and finish dates for the restricted period during which the dynamic form may be used.
API KEY
Key - The system will generate (or regenerate if you use the Regenerate button) a unique Key code. The API key is used by the system to authenticate the form and needs to be submitted with every form request as a POST variable (generally using a hidden field - the default form template will include this).
Because anyone who has the API key will be able to post data through the form, used alone its not advisable to publish the form to a public location (such as on your website) unless you used an additional mechanism (such as Kaptcha) to validate that a user is real (ie to avoid spam!)
 When you have completed the dynamic form click Save.
You will be taken to the Dynamic Forms List.
Comments
0 comments
Please sign in to leave a comment.