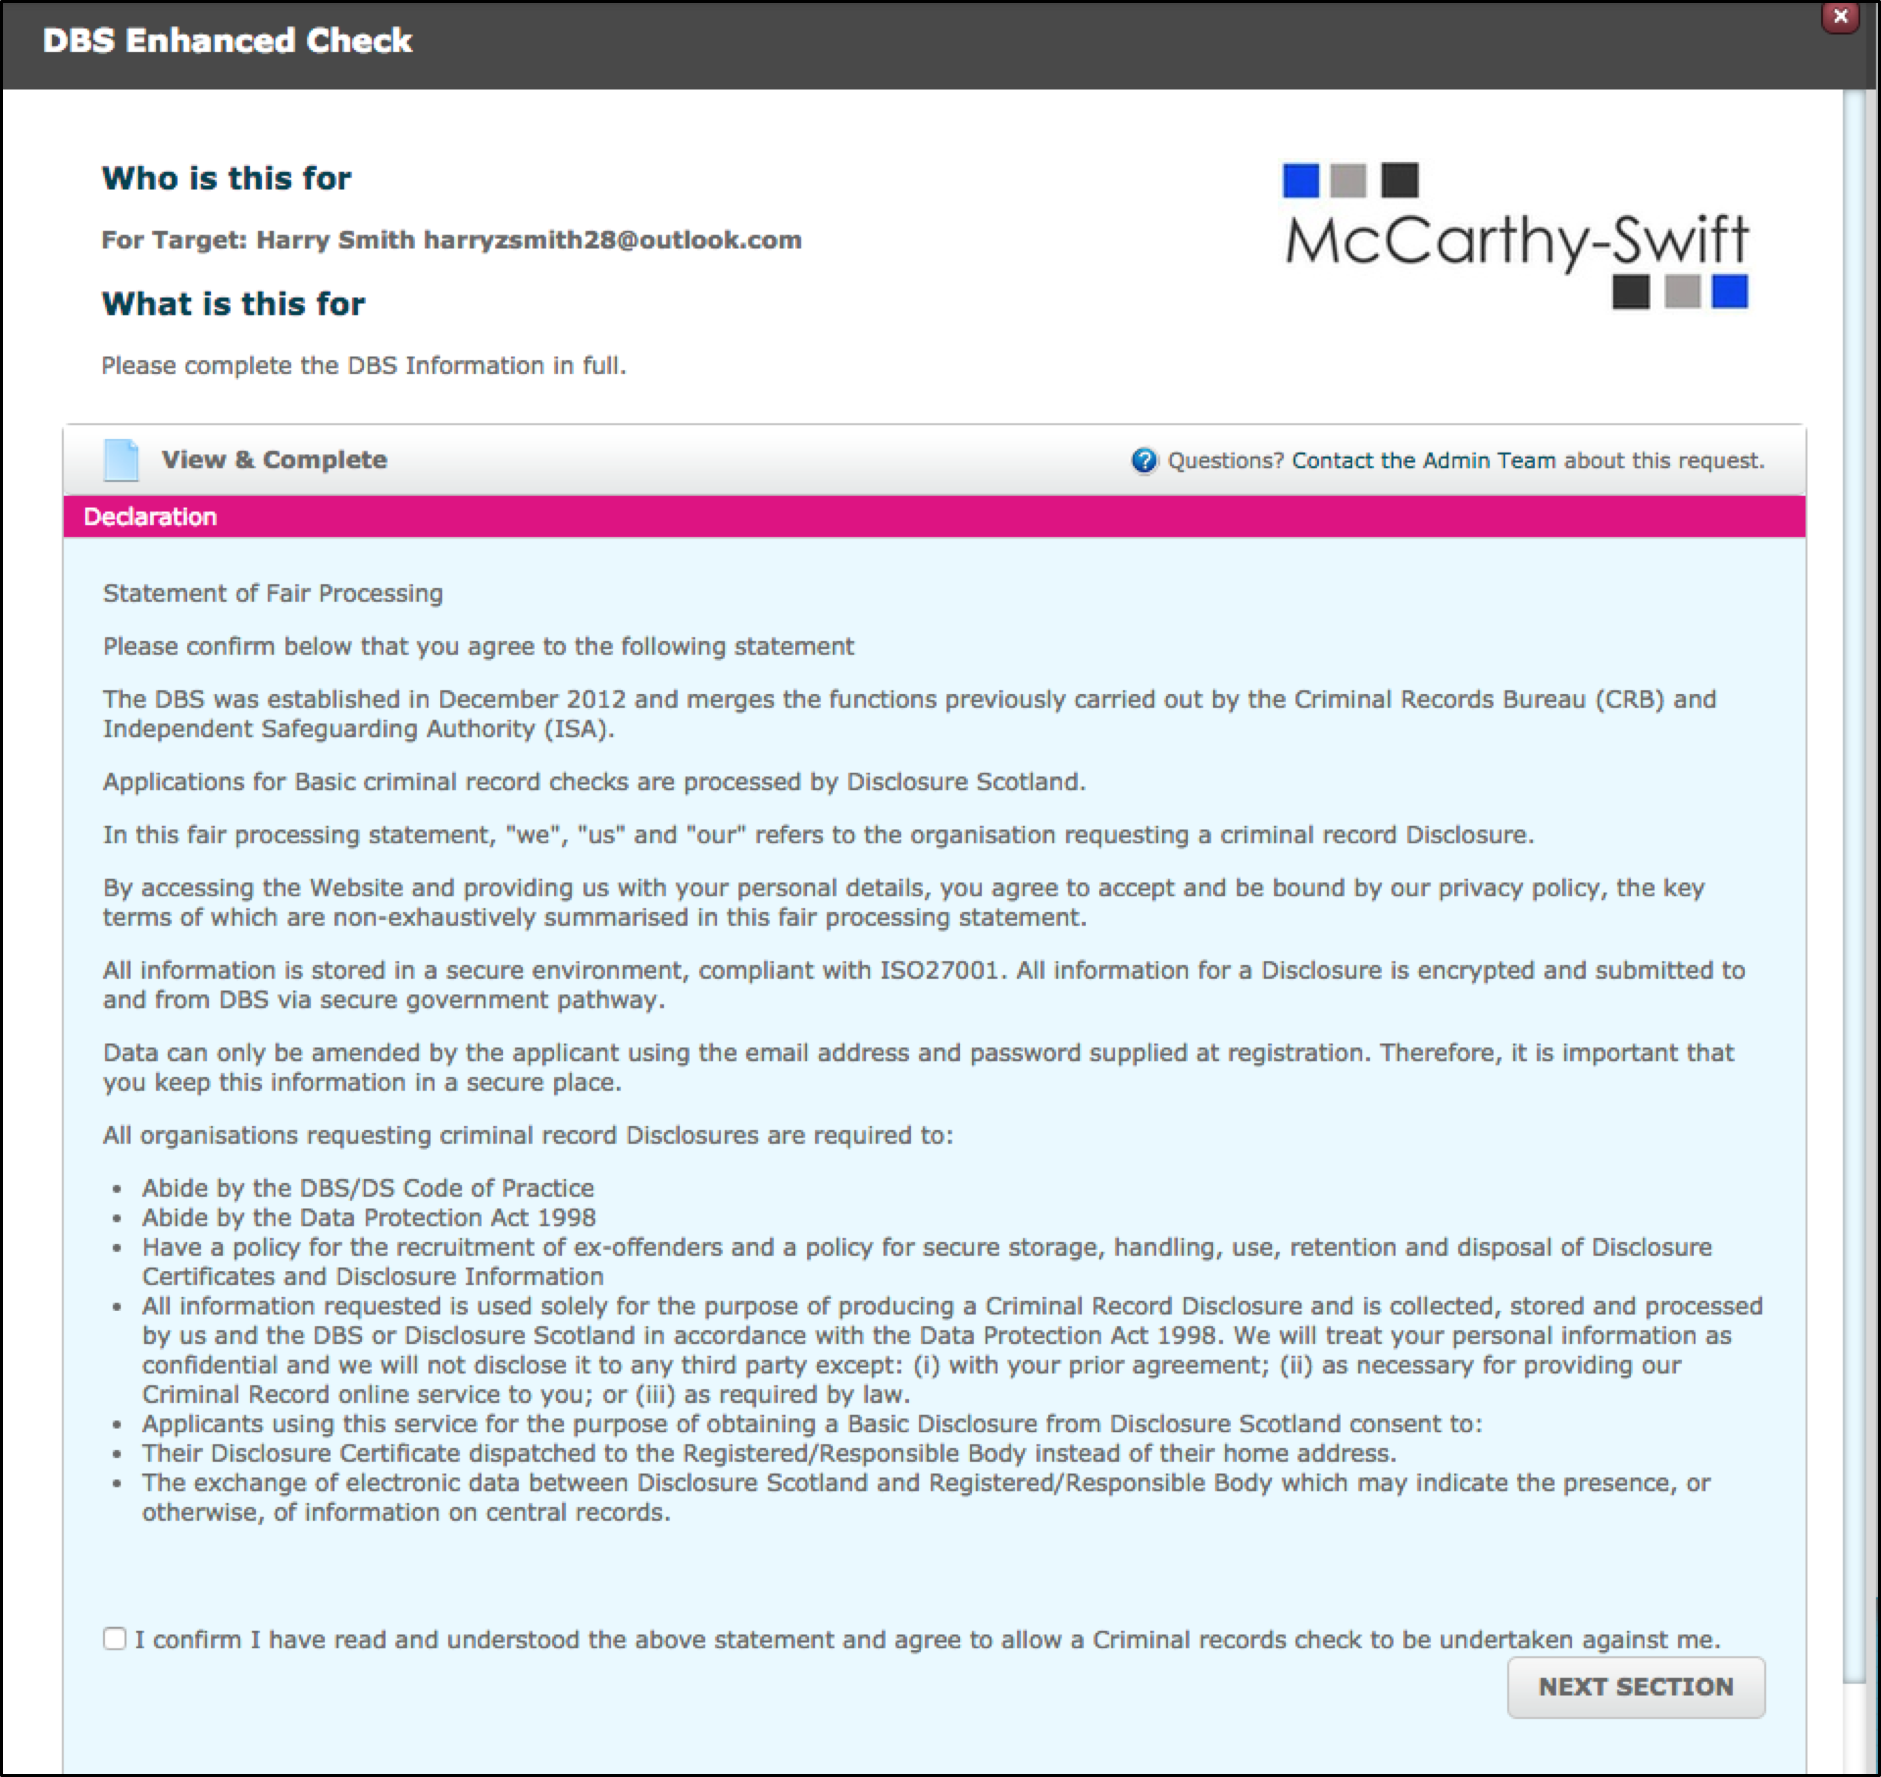
The Declaration must be ticked to proceed to the Next Section. The text which was used in the Store Setup is shown alongside the tickbox.
Next is the completion of field data, this can be done by either a system user or target (dependent on how you set up your criteria). Users will only be able to proceed to the next step once all mandatory fields have been completed. Once all sections have been completed a green ‘complete’ button will appear.
Please note that this page contains a lot of validation. For example:
- if you select Male in the Gender field only certain options in the Title field will be presented
- if you enter a date of birth which means that the applicant is less than 16 years old there will be an error message displayed
The following table will provide a guide of set up choices available:
| Declaration | The checkbox on the declaration needs to be ticked before the user can proceed to the next step | Note: This is recorded under history as ‘UK Criminal Checks Declaration signed’ |
| Personal Details | System Users or Targets must fill out all mandatory fields. These fields change depending on what type of check is taking place. |
Note: There is a lot of validation on this page that will prevent users from completing the form incorrectly. - Title will change depending on what gender is selected. - If certain titles are chosen such as Lady, Major, Mrs, etc. a new field will be appear asking the user to provide details for their surname at birth. - There can’t be any spaces at the end of the field data or special characters, with the acceptation of ‘-‘ - ‘Mother’s Maiden Name’ only requires a value for Disclosure Scotland checks. |
| Identification | By selecting Yes the user will be asked to provide the document number | Note: Copies of the documents are not required and these fields are not mandatory. There is very strict validation on Driving License, which will take account of all data provided. |
| Address History | Users need to provide addresses for 5 years with no gaps | Note: If compounding from address history is selected, there is a DBS template option in the address history criteria set up. |
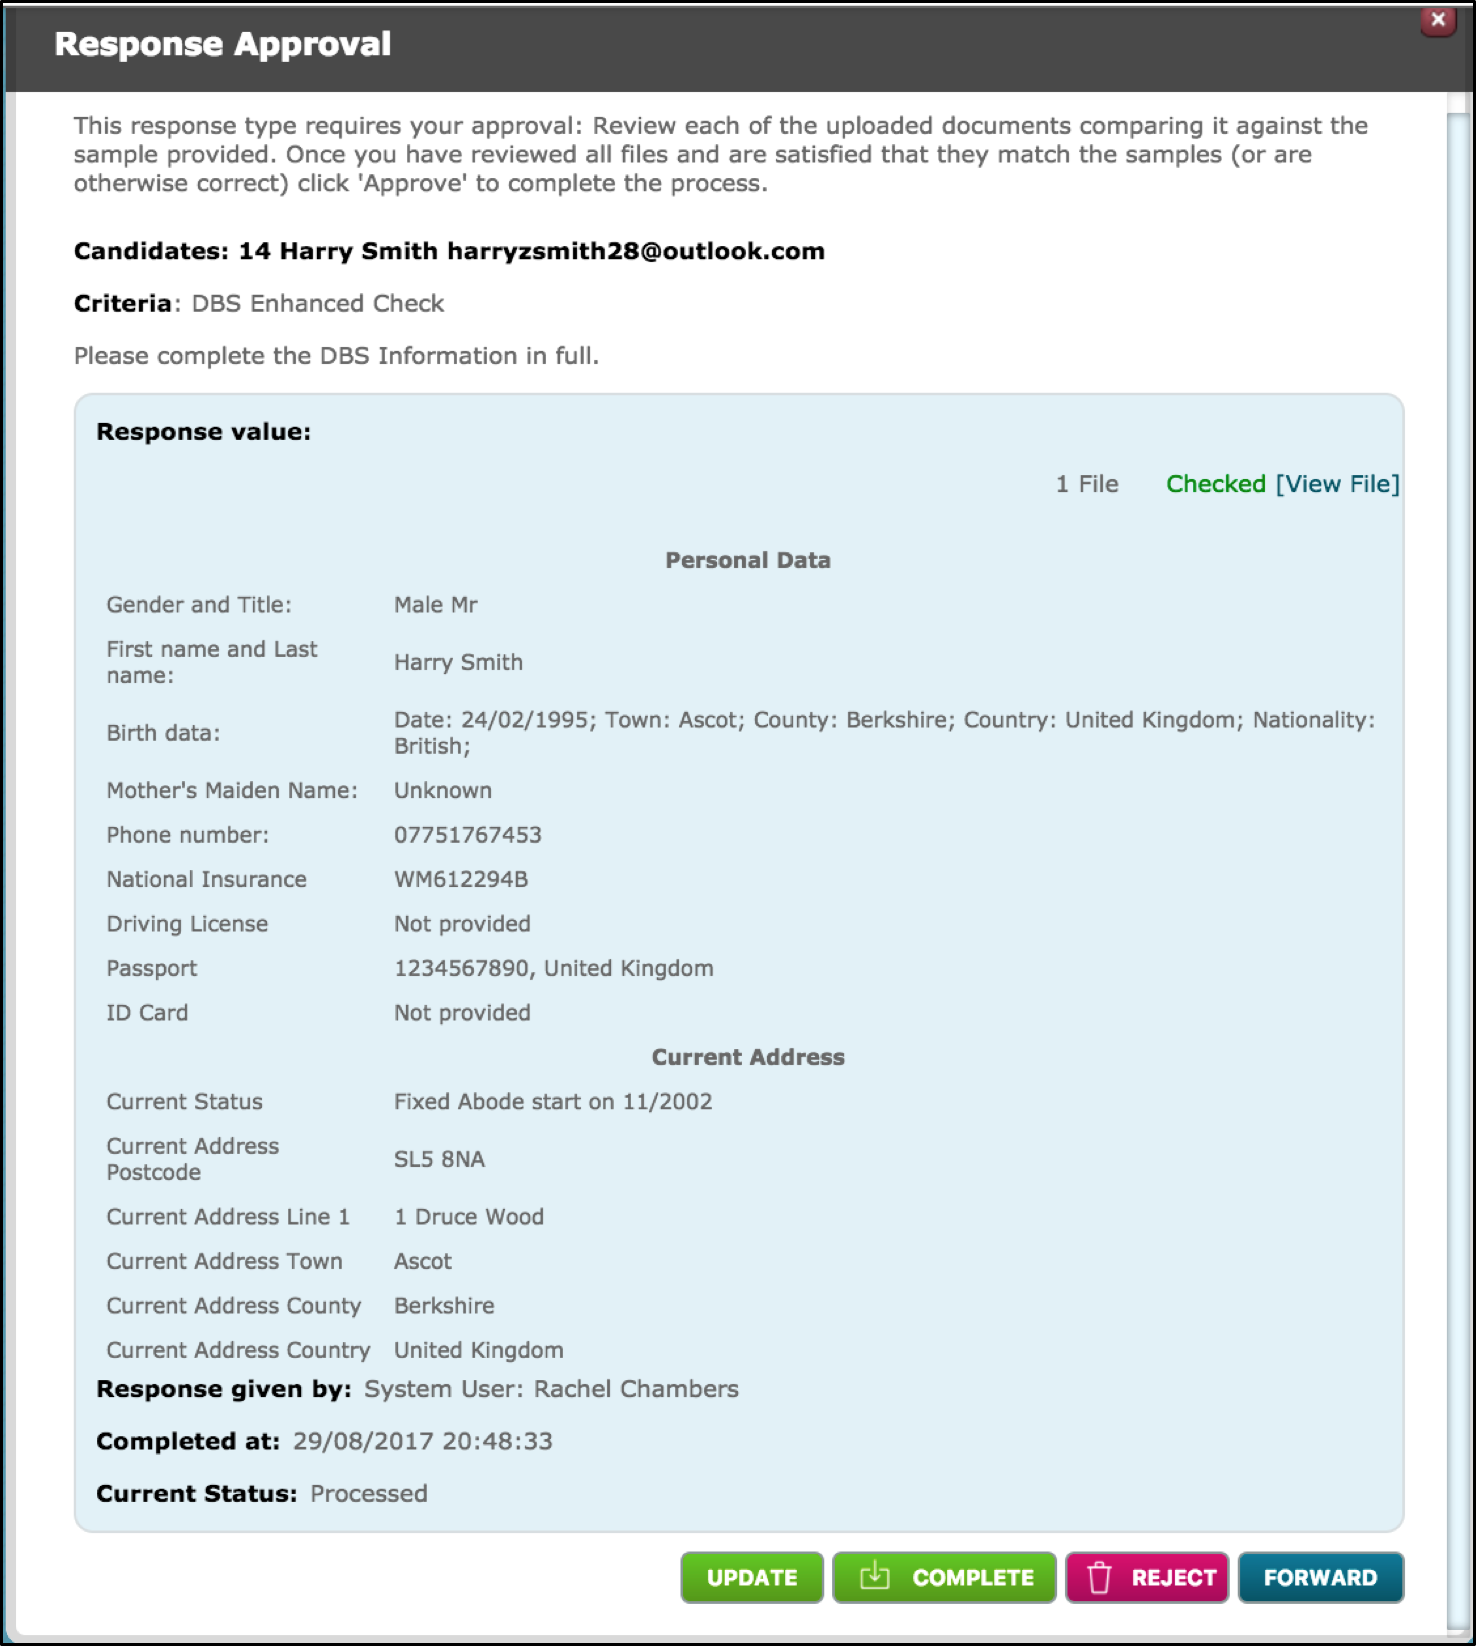
Once step 1 has been completed, a ‘Complete’ button will appear on the dashboard. System users will need to review the information provided and complete. A copy of the declaration and confirmation text will be attached under documents.
If any of the information is incorrect they can click the ‘update’ button, which will allow them to amend the information provided without having to reject and ask again.
However, if the information is correct, they should click the Complete button and move on to the Document selection/verification stage.
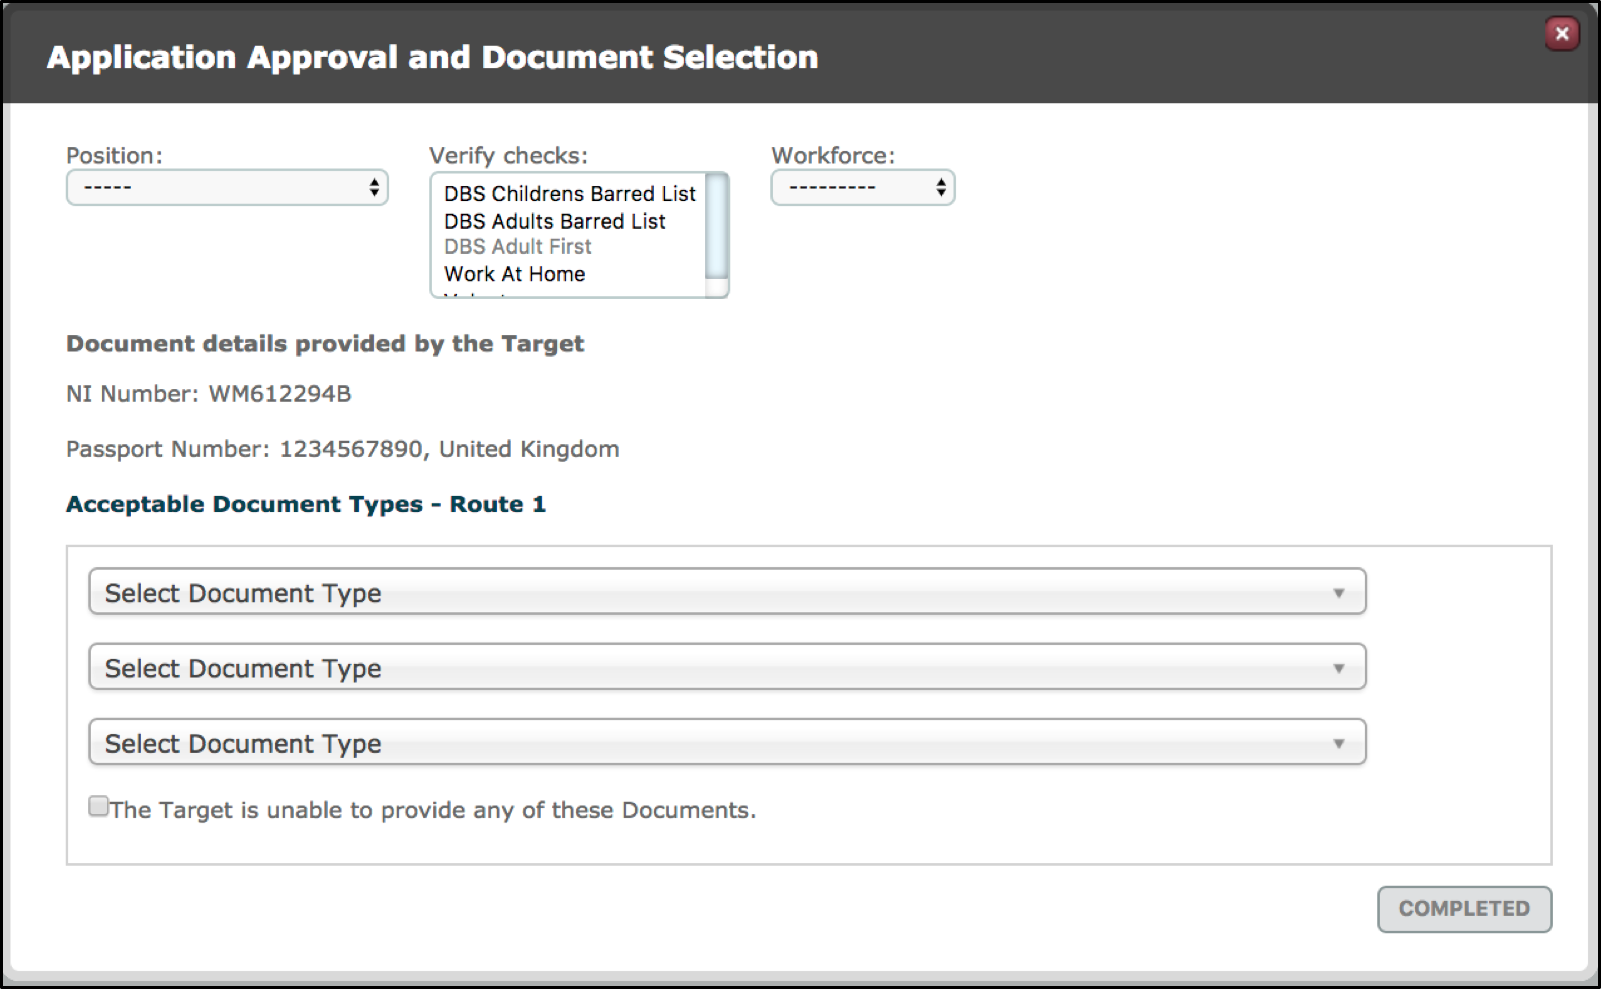
Documents (Step 3) Application Approval and Document Selection
| Position | Users will need to select the position that is relevant to this applicant. | Note: Positions are agreed and provided by GBG and cannot be amended in/by ALX. |
| Verify Checks | The API will determine what type of check are required for each position but users have the ability to override this. | Note: This field will only show on Enhanced checks. |
| Workforce | The API will determine what value is required for each position but users have the ability to override this. |
| Document details provided by the Target | If the Target has provided document numbers in step 1 (identification) then they will be displayed here. | |
| Acceptable Document Types | Users have to select the documents that they have seen the original of. Initially the user will be presented with the document options required to complete route 1. If user cannot complete route 1 and the checkbox is selected they will move on to route 2, route 3 etc.
|
When all the fields are appropriately populated, click completed to finish the application.

Comments
0 comments
Please sign in to leave a comment.