
When you create the target group select Relational in the Target Type field options.
A new field called Target Relation will be presented. Here, select the child target groups you want to have the relationship comprise.
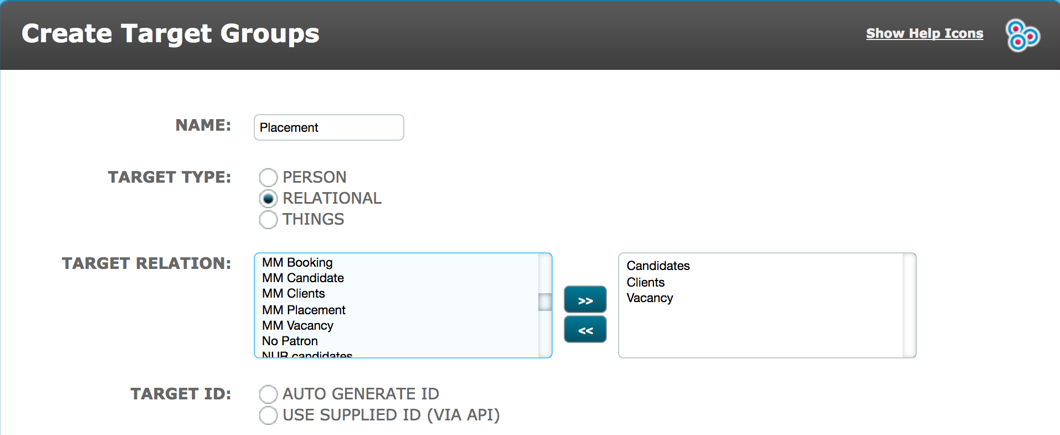
You will also note that having selected Relational target type the Authentication options disappear.
You cannot communicate with the relationship but you can communicate with the person targets within it, dependent on the set up of those child target groups.

The rest of the target group set up should be familiar to you and is dealt with in other articles. However, you will notice that there are only 3 standard fields for a relational target group:
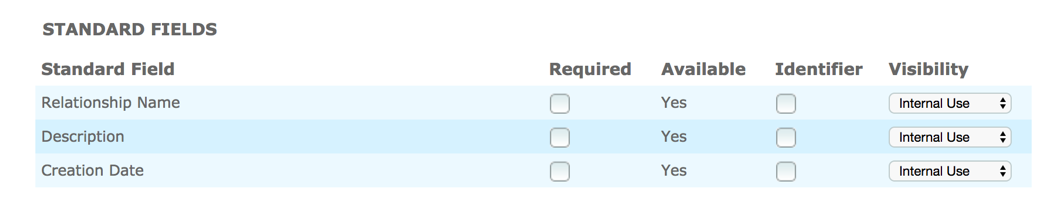
Relationship Name and Description are freeform fields. We would recommend that you adopt a specific naming convention for the relationship eg in the placement example this could be candidate first name last name/booking number.
Creation date is the date/time stamp which is automatically populated when a target is created.
There is no patron standard field. If you want to use patron in sequence trigger conditions or as a merge field for relational targets you will need to create a custom field of the patron type and apply it to the relational target group.
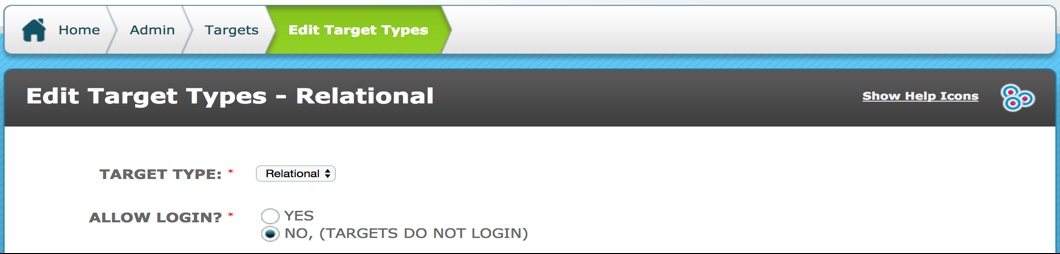
Remember to change the Target Type field to Relational at the top of the Edit Target Types page.

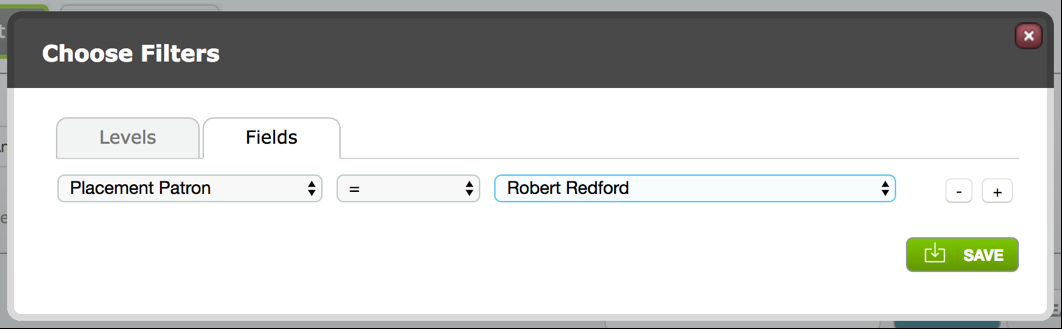
Once applied to the target group, this field will automatically be populated with the patron’s name.
This field can be displayed/searched/filtered on the dashboard in the usual way:

Other custom fields can be added in the usual way.
Comments
0 comments
Please sign in to leave a comment.