From the sequencer you can sequence API actors to pass data between 3rd party systems or make internal calls between target groups.

Once the API actor has been dragged and dropped on to the Sequence the System User will then be able to configure their API actor.
This is done by right clicking on the API actor and selecting 'Configure' - you will then see a configuration modal appear as shown below.
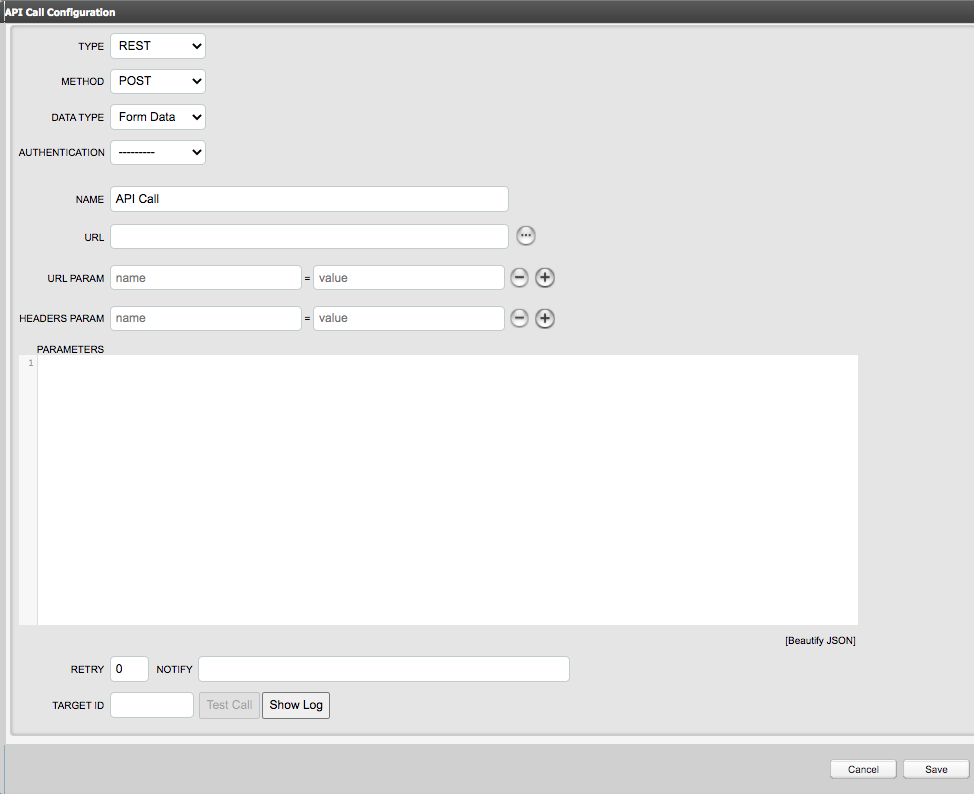
Type: Autologyx support REST API calls only
REST and SOAP protocols
The main difference between the SOAP protocol and REST is that SOAP has an official standard that must be followed whereas REST has no official standards, but rather it follows an architectural style.
Don’t worry too much about the intricate difference between the two, the only thing of interest is that REST APIs deliver fast performance, are in general more reliable and easier to implement. autologyx® follows REST architecture for its endpoints.
Method: Select the type of API request you wish to make from the list: GET, POST, PUT, PATCH and DELETE
A request is simply a call that your application is making to the server/third party service. Depending on your API configuration and method (POST, PUT, PATCH or GET), the server will respond accordingly.
Within ALX the most commonly used are for the following:
- POST: Method used to create a record in the system;
- PUT: Used to update a record (please note that you will need to provide all the fields); *I don’t recommend using this method, unless you know what you are doing.
- PATCH: Used to partially update a record;
- GET: Retrieve information about a record or a list of records
Data Type: Select the type/format of Data that will be sent in the API request. The data types allowed are Form Data, JSON Data, XML Data and Binary Data. We use JSON most often.
Authentication: Select the type of Authentication required for the API request. Once you have selected a type of Authentication further fields will be displayed where authentication specifics can be provided such as Client ID and Client Secrets.
Basic Auth: After selecting 'Basic Auth' the user will need to provide their Login and Password here for the Authenticated account in the 3rd party system.

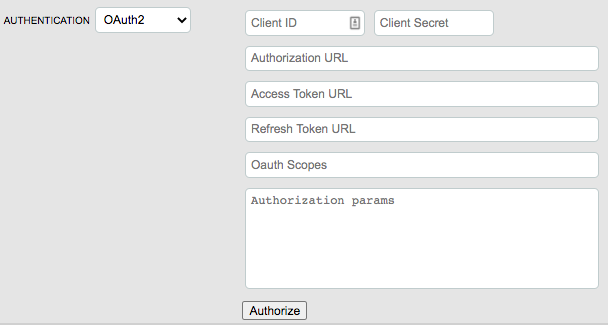
OAuth2: After selecting 'OAuth2' the user will need to provide the Client ID and Client Secret along with the Authorization URL, Access Token URL and Refresh Token URL which will be provided by the 3rd party. The fields being shown are for the grant type Authorisation Code. Oauth Scopes and Authorisation params will need to be complete too depending on the 3rd party requesting these to be completed. Next you will need to click on the 'Authorize' button - this will re-direct you to the 3rd party to Authenticate. In the 3rd party system, you will need to provide the URL for your sequence so the 3rd party knows that the request being made is coming from the correct place.
OAuth2 - Client Credentials: If you require OAuth2 to connect to the 3rd party system using Client Credentials, then the details such as the Client ID, Client Secret, Username and Password will need to be sent in the body instead. You will not need to select an Authentication method in the field, this can remain as '---------'. Our OAuth2 UI is for Authorisation Code grant type. This request will need to be sent as Form data and your request would look something like the below:
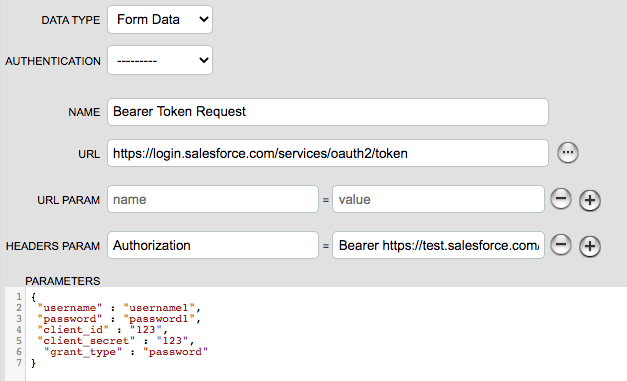
When this API request is then made, the Token will then be sent in the API response. What you will then need to do is extract and store this token into a Variable which will allow you to use this Token in the remaining API calls that will require this token.
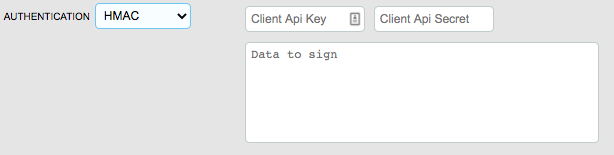
HMAC: After selecting 'HMAC' the user will need to provide the Client Api Key, Client Api Secret and Data to sign. The Client Api Key is mandatory but the value used here is not used as part of generating the hashed token. The Data to sign is the string that you want to be hashed along with the Client Api Secret.
If no Authentication is required, then leave this field as the default '-------'
Name: Enter in the Name for the API call. This is for internal purposes and this name will be shown in the history logs when the API calls have been made.
URL: Enter in the URL Endpoint here to the system where the request is being made to.
URL Param: Enter in the Params that will be present at the end of the URL endpoint. On the left column you will enter in the key of your param, then on the right you will enter your value for this key.
Headers Param: Enter in your header Params for your API request. On the left column you will enter in the key of your param, then on the right you will enter your value for this key.

Parameters: Enter in the body of your request. If you had selected 'JSON Data' in the Data Type field, then you would enter your JSON code within this Parameters section.
The main difference between headers and parameters is that headers represent meta-data associated with the API request and response, for example:
- Request and Response Body;
- Request authorisation;
- Response Caching;
- Response Cookies.
On the other hand, parameters carry the variable parts of your resource, the data you are working with.
Retry (Optional): Enter in a number for how many times you want the API actor to retry the request should it fail
Notify (Optional): Enter in an email address for the user who will be notified when an API call fails
Target ID / Test Call / Show Log: Once the above configuration is complete for your API call, to activate the API Actor the Autologyx system has mandatory validation to ensure the API configuration can work. To activate, enter in an Autologyx Target ID for the Target Group used in the Sequencer, then click 'Show Log' followed by clicking 'Test Call'. The 'Show Log' button will make a pop up modal appear which will inform the user if their test provided has passed or failed the API request - in the Show Log modal a response code will be present to indicate if and why the API call has failed or passed.
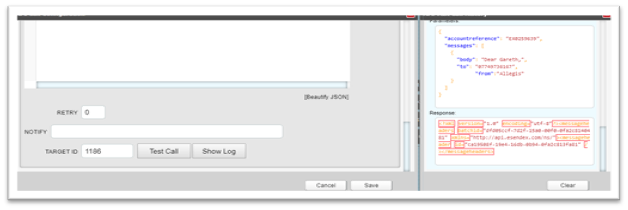
Save: If after testing your API request you receive a pass or a response code in the 200's then you will be able to save the API actor with the API actor activated. If you save the API actor when your test returned a response code in the 400's then the configuration will be saved but this API will not be activated until you re-test and a response code in the 200's is returned.
Comments
0 comments
Please sign in to leave a comment.