
Go to admin/ Targets/ Create a New Target Group
You can also create a target group using the button at the button of the Target Group List which is called “Create Target Group”.
Complete the fields using the below guidelines:
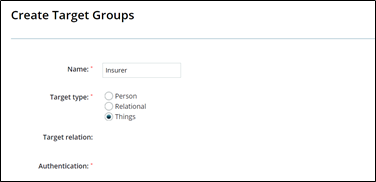
Name – Give your target group a unique name which identifies who or what the members are or do eg Client, Ad Agency, Building, Training Company, Insurer, Referee, Mortgage Applicant, etc.
Target Type - Select the appropriate Target Type for your Target Group. You have three options: Person, Relational or Things. Remember if this target needs to log into the target portal it will have to be of the Person Type.
Target Relation – this option is enabled when the Target Group is of the Relational Type. From the left hand column select all the child target groups (of the person and thing) type which you wish to include in the relationship. In the below example, Mortgage Application is the parent relationship; Client and Request are both child target groups of the thing type.

Authentication – this option is enabled when the Target Group is of the Person Type.
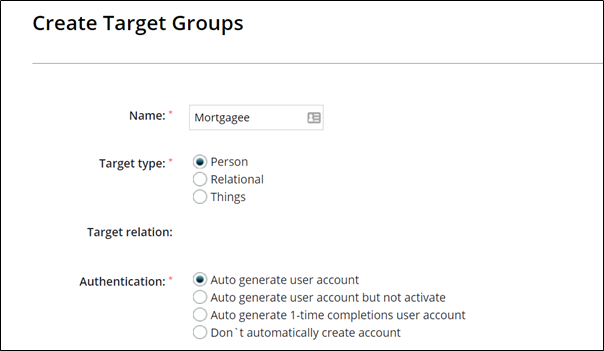
Select the appropriate authentication method as below:
- Auto Generate User Account - The Target’s user account will be activated and an Activation email will be sent to them at the point of the target being created.
- Auto Generate User Account but Not Activate – The Target’s user account will be created but will not be activated automatically. This can be done at a later time either at a particular point in a process or manually from the target list.
- Auto Generate 1-time Completions User Account – Automatically create a Target User account for individuals who will only be required to use the system for a single action. The Targets that are 1-time Completion do not have a username and password to login to autologyx. They can be provided a URL in an email inviting them to complete an action. At a later point 1-Time Completion Target Users can be “converted” to a full account (with login credentials and access to the Target Portal).
- Don’t Automatically Create Account - Targets will not be sent an Activation email, there will be no way of the Target logging in or receiving notifications from autologyx. All actions (completion of criteria) would have to be undertaken by System Users.
More information on Authentication can be found HERE.
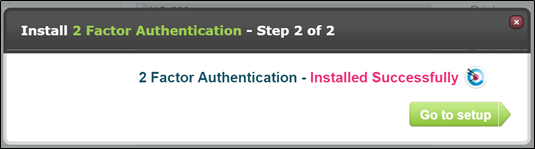
2 factor auth – this option will be available if 2 Factor Authentication has been set up in the Store.
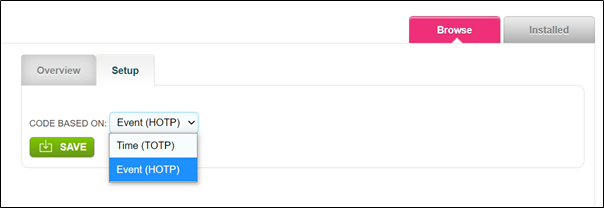
2 factor authentication can be set up on on a time or event basis for system users. However, for targets it is simply used as an additional authentication to login.
Notes – these should be added to help other system users understand the purpose of the target group. Imagine you are a new system user responsible for upkeep and maintenance of the system 6 months after is has been setup – what would be useful here?
Allocation group(s) – here you are provided with a list of System User Roles which have been set up. Select the System Roes which need to interact with the Target Group and especially bear in mind those System Roles whose System Users will be Patrons for the Targets in this Group or whose System Users may need to feature in sequence configuration.
Distribution mechanism – this field is used to determine how the Targets in this Target Group will be distributed amongst the System Users with the System Roles in the “Allocation group(s)” when created in ALX. In other words, it is used to determine who the first patron will be. There are 5 possible methods, unless stated otherwise these methods overrule the “Auto Allocate Target” selection in a User Role!
(Admin > System Users and Permissions >View/Edit System Roles > Edit a System Role > Global tab)
- Load Balanced (outstanding criteria) - Assign to the Patron with the lowest number of non-completed criteria from all selected Allocation Groups (User Roles)
- Load Balanced (assigned criteria) - Assign to the Patron with the fewest assigned criteria from all selected Allocation Groups (User Roles)
- Round Robin - Assign targets to each available Patron in turn starting with the Patron with the lowest System User ID from all selected Allocation Groups (User Roles)
- Randomised - A random Patron is selected each time a Target is created
- Auto Allocation - A random Patron is selected, this method does not overrule “Auto Allocate Target” when it is enabled in a User Role
Allow allocation override – If this field is not checked, then the Patron field will not be available for modification in the Target Record screen, so it cannot be changed when editing the record.
Portal criteria sort order – this feature allows you to stipulate for Person Target Types who log in to the Target Portal how their criteria (tasks) will be ordered. The below will order the criteria alphabetically by name with A at the top of the list:

More information can be found HERE.
Management of Target Fields
The “Available” column was explained when adding Custom Fields in this article. However, the other columns in the Target Group should be set for each field:
Required – If ticked this field must be populated when creating a target record, that is the field is mandatory and a target cannot be created without data in this field.
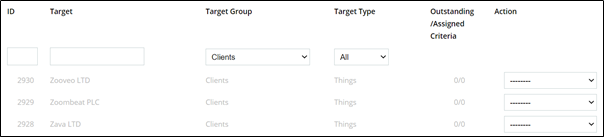
Identifier – The identifier can be one or more fields, however at least one standard field must be chosen. It is used in 3 places:

- On the Dashboard this is used as a link to the target record – the link appears as a blue hyperlink. A hyperlink will not be created on the “Email” standard field for Person type targets if used as the Identifier.
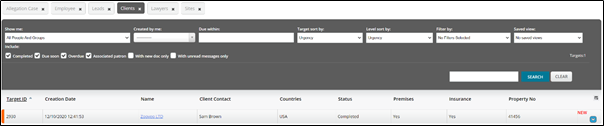
- It is used for identification in the target list.
- The identifier is a merge field made up of the fields ticked for this purpose <<target.identifier>>. It can be used in message and document templates, API calls, Send Message Actors, Criteria instructions, etc.
Unique – We have already learnt that the unique value for a Person Target Type is their email address. However, for Target Groups of the Thing and Relational type you can select any field as Unique. When ticked, records added in the target group must have a unique value in this field – it is used as a natural de-duplication tool and therefore automatically becomes mandatory.
When a field has been marked as unique and targets have been created in that group, the field will have the word unique (coloured green) next to it so that it is clear it is in use.

Only one field can be selected as Unique. A document field type can never be chosen for this purpose. Selecting a different field will deselect the existing unique field. At the same time the new field will become mandatory. However, the existing unique field is not automatically made non-mandatory; you must untick "Required" if it is no longer necessary for this field to be mandatory.
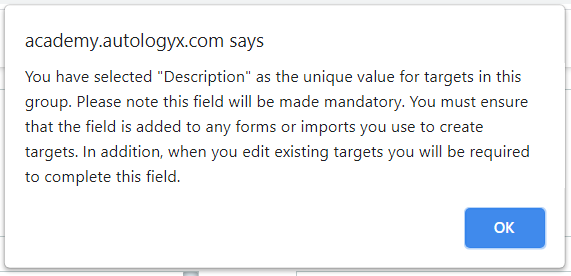
You will see the following modal when changing the Unique field.
If the target group is edited:
- and it has no targets any field (other than a document type) can be set as unique
- if targets exist but the field chosen as unique has no existing values it can be used as unique. The warning message shown above will be displayed
- if targets exist and the field has existing values for some or all targets the checkbox under unique will be greyed out and it cannot be selected
If a duplicated value is entered for a new or existing target the Save action will be interrupted and the following warning is displayed:

It should be noted that uniqueness is NOT case sensitive. So for example, the value ABC123 will be treated as a duplicate of abc123.
Visibility – There are 4 options:
- Internal Use: only seen/useable by a System User
- Display Only: can be seen on the target portal or in Target Field Completion (TFC) criteria but cannot be changed by the target
- Display and Edit: can be seen and edited by the target
- Archived: when no longer required
Validators – This feature allows you to apply a validator from the Store. The Store has a number of identity, measurement and regulatory validators which can be installed and used against data fields to ensure that targets and system users enter information into these fields in the appropriate syntax. There is also the ability for you to create custom validators which can be applied to fields in the same way.
The example below is NI number which can be found in the Identity Validators.

Click Save to add your new Target Group to the Target Group List.
Comments
0 comments
Please sign in to leave a comment.